It takes tools to make it on your site!
I’m not even gonna say sorry for getting that stuck in your head just to make a cheap pun.
I’m actually brimming with pride. That’s just the sort of person I am.
And if you don’t have a song stuck in your head after reading that, then you are either too young or too old, and should feel terrible about being a different age than me. Feel bad because I am the target market: the pulsating, pale-skinned, fur-faced centre of the world (is this what they mean when they say you should acknowledge your privilege? Bragging is a type of acknowledgment right?). Seriously though, I’ve been making a lot of woodworking jigs recently, and it’s rocking my world, though these prototypes are all a little rough looking. Recently I’ve made:
- a Zero Clearance Table Saw Insert (not quite a member of the set of woodworking jigs, but an equipment upgrade nonetheless)
- a Joining Table Saw Jig
- a Cross Cut Table Saw Jig
- a Mitre cut Table Saw Jig
- a 1/2 Inch Box Joint Router Table Jig
- a Downdraft Sanding Table (also not a jig – what are you, the jig police?)
It seems that as soon as your woodshop reaches a certain critical mass, you’ll be compelled to make (and shortly remake) jigs and other tools for your shop. For me, that critical mass was adding a 13′ Tabletop planer to my list of tools. Being able to smooth boards and accurately size pieces has really made all of the difference in the word for me because I am embarrassingly bad with a hand plane.
Let’s get into understanding the woodworking jigs I’ve made and what they do.
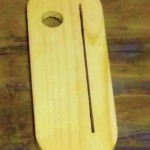
Zero Clearance Insert
 The Table Saw is the pulsing heart of my rag-tag workshop. I’ve got an old cast-iron saw that’s been savaged and repeatedly repaired, but it’s heavy, and it’s solid, and it cuts. I love it. The clearance plate it came with is aluminium and has a full half-inch gap surrounding the blade and some rough edges of its own. Fine for rough work, but it’s been causing too much tear out and chipping of late.
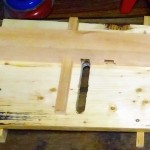
The solution is a zero clearance insert plate – it reduces blade wobble by sitting close to the sides of the blade, and reduces tear-out and chipping by holding fast against the workpiece all the way to the kerf (amount removed by the cut).
To make the plate I traced out the existing plate onto a piece of pine board that I had planed to around the right depth. Then I routed out the nests for the rests on the tablesaw, and cleaned up the edges and tested its seating in the saw. It was breaching the plane of the tablesaw’s table by about an eighth of an inch, so I sent it though the planer a couple more times, drilled a finger hole so that I can easily remove the plate and get at the blade, and finally turned on the saw and slowly raised it to maximum position to cut the slot.
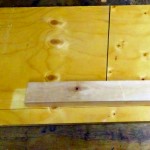
Table Saw Joining Jig
My friend Ryan and I built this jig out of MDF to help true an edge of the hardwood pallets I scavenge from the local tileyards. It has some infeed support to help position the long boards, and rests along the fence with the kerf cut out. This helps create a single true side that you can word from to create a squared workpiece.
Table Saw Cross Cut Jig “Sled”
 This is a Sled-style jig, with waxed hardwood slides. Getting these slides to fit the slots and stay aligned is a pain, and the wooden slides can swell if you keep them outdoors (I keep them in my carport). The purpose of the cross-cut jig is to give you an easy and reliable 90 degree cut. For rough work the mitre bar works just fine, but the sled is better in a number of situations (even though you lose some depth with the sled itself.
Table Saw Mitre Cut Jig
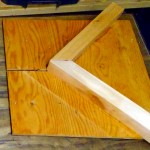 This sled style jig is all about the 45 degree corners, so it’s a must if you are making a
nything picture-framey. It comes with the same frustrations of swelling slides, and a large carpenter’s square is crucial to having everything turn out well here. For best results mark and match your parts carefully.
Router Table Box Joint Jig
Box joints, or finger joints are a great way to make pieces meet in a corner (like a box or a drawer). A well made box joint is much stronger than a butt joint, and slightly stronger that it’s more elegant cousin the famous dovetail. Dovetail joints have two advantages over box joints: they are decorative, and they wedge to hold the piece together precisely. I’m still working on my box joints though, so doves are a ways off.
 This jig has one slide for the mitre slot, and an edge guide that runs along the outer edge of the table. It’s important to route out the path of the bit and the path for the key (make sure it’s straight!). The key must be the exact width of the bit, and set to the exact height as well (ideally these match exactly).
When working with this jig, I’m afraid it’s measure, set, test, repeat. Always work on test material first to get the fit just right, and remember that you’ll need to alternate your starts – Opposing pieces will need to alternate starting with gaps or fingers. You start a gap piece by fitting the last piece over the key.
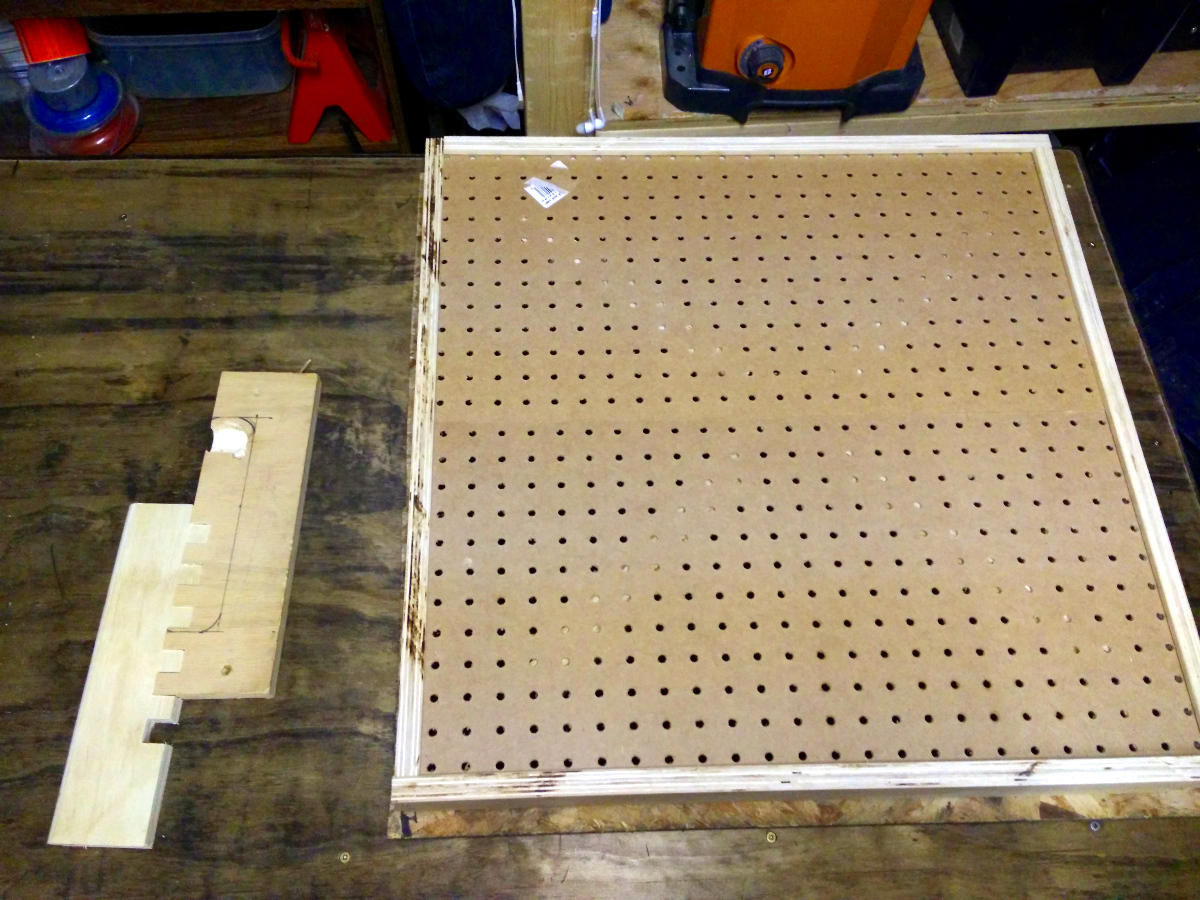
Downdraft Sanding Table
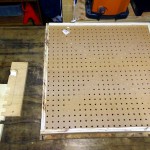 This table allows you to hook up your dust removal solution to your sanding adventures. I started with some spare pegboard – I then built a simple box, and routed a dadoe in the box edges to ensure a tight fit. Diagonal supports inside the box buttress the pegboard without blocking the airflow, and a central hole lets me fit my shopvac to the table and keep the fine dust from cloggin my noggin.
Of course, making these jigs means that I could now make better and more accurate versions of these jigs, so there’s a bit of a cyclical thing bound to happen. Wish me luck!