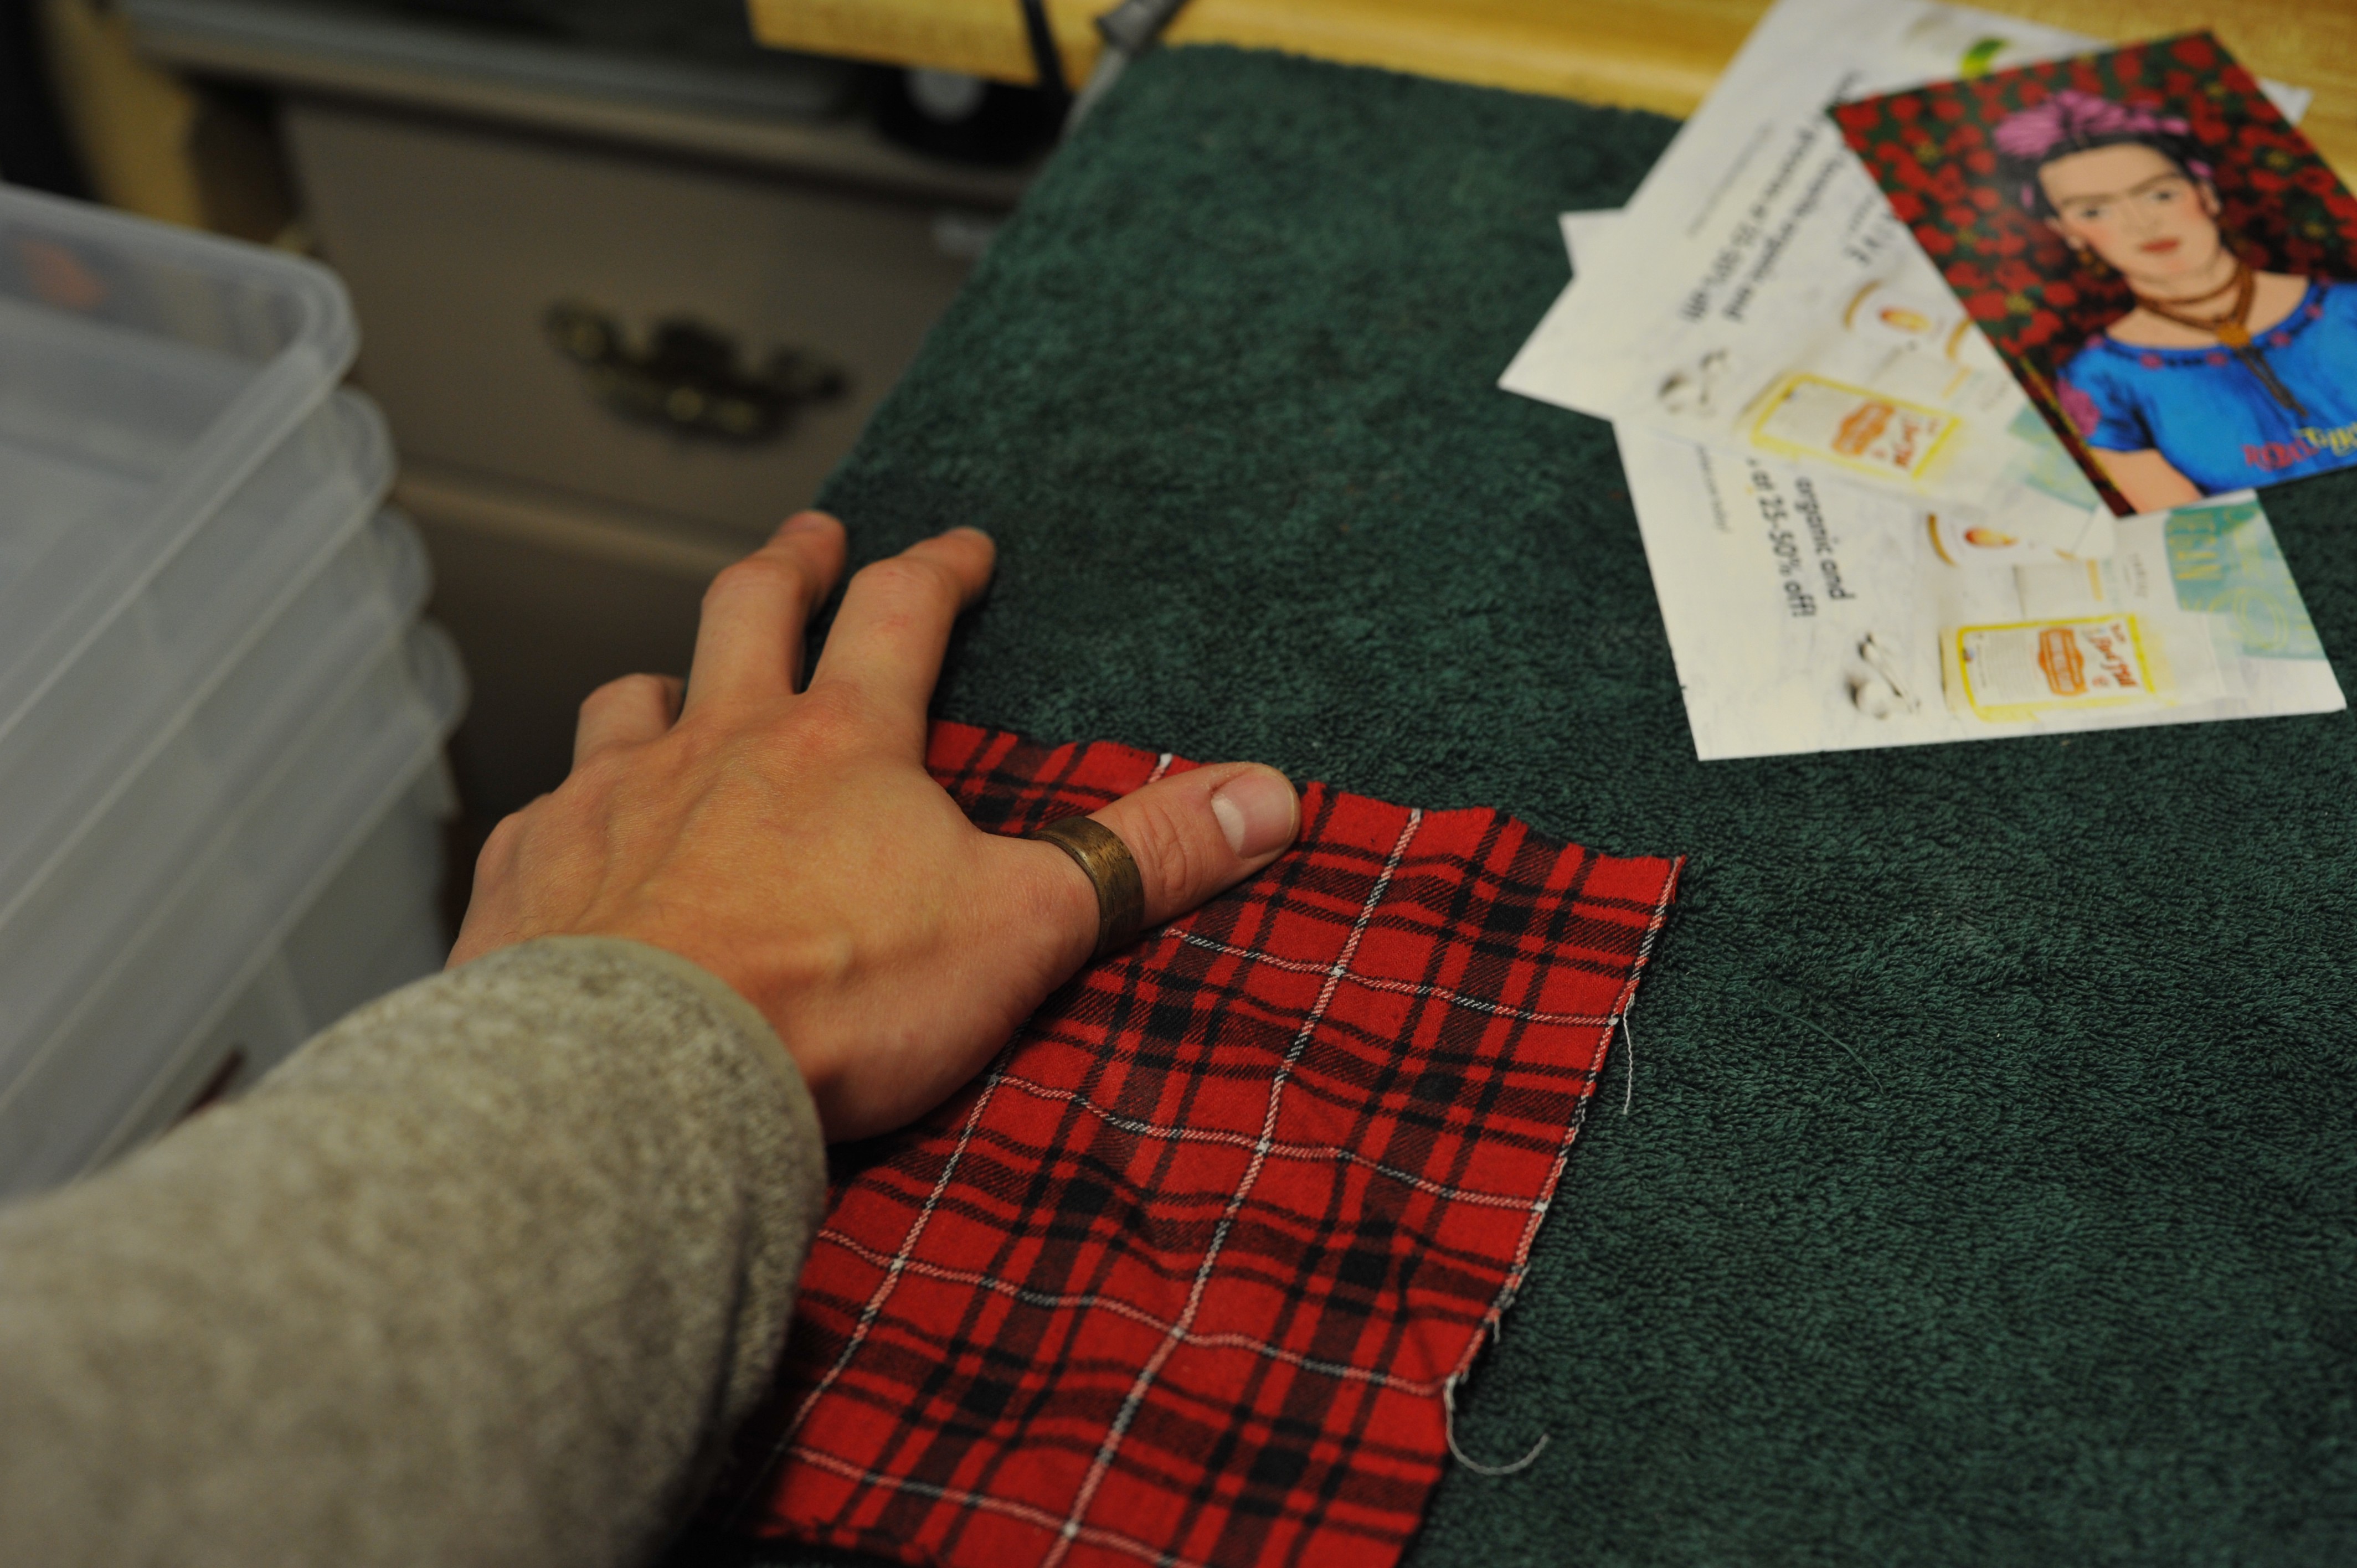
I recently found myself making stands for the Fitzroy Storm Glasses I mixed up – I’ll get to how that story ends up with me removing my fingerprints and a new bent wooden ring for my thumb in a minute, but it’s a bit of a meandering trail. Unfortunately, I ended up over sanding the cylindrical holes on the Storm Glass Stands which meant they were all a bit loose and the test tubes filled with weather predicting fluid were free to wobble and point in slightly different directions.
Unacceptable.
To remedy that I decided to insert bent veneer strips to fill the gap. Only two problems: I didn’t have veneer, and I had to bend the veneer I didn’t have into a fairly tight circle. The Black Walnut strips I was planning to use are fairly brittle, and I knew there was no way to bend fit them dry or cold. Those are exactly the same problems I’d need to solve if I were making a bent wooden ring. So I decided to make this little Black Walnut beauty as an add-on to what I was already doing in the shop that day. If you’re into it these wooden rings could make great gifts for friends and family – lemme know if you wanna get crafty!
The build was pretty straightforward, and went more-or-less as described by other makers previously – the tricky part was how thoroughly my fingers got glued and reglued in the process. As mentioned, I finished the day with tender tips and no prints. With a little practice, I’m sure I’ll be able to reduce the number of small voids created when wrapping the veneer. And maybe if I’m lucky I’ll find some superglue-proof gloves!
To make your own bent wooden ring:
- Make a thin veneer of your chosen wood. I used Black Walnut here, and it has a tendency to splinter when I try to cut it sufficiently thin on my table saw. So I cut it as thin as I safely could, then used a cabinet scraper to remove the rest of the material. If you need to thin something like this down in a uniform manner and aren’t a master-planer, this is perhaps the best option. Sanding will give far too uneven a result.
- Sand the veneer if needed. The next step is to boil it, which will raise and rough the grain absurdly, but it doesn’t hurt to start smooth.
- Boil the thin veneer for about an hour. This softens the wood and makes it pliable.
- Bend the wood quickly and carefully after removing it from the hot water. If you can’t bend it all the way on your first try, be patient. Use masking tape to hold it in place as it dries.
- If you weren’t able to bend it to your desired diameter, Rinse, Lather, and Repeat that last step until you are.
- Now for the tricky bit. Once the veneer is dry and the right diameter, you’re going to be glueing it together – laminating the layers of veneer into a thicker ring.
- Slowly bend the wood around a tight cylinder of the appropriate diameter adding a drop of cyanoacrylate a couple of times a turn – holding it in place for a few seconds before moving on.
- Let that set up, and then add tiny drops of glue (or wood dust and then glue) to any voids.
- Once that’s set for a day shape and sand the ring until it’s the bent wooden ring of your desires.
- To finish the ring I soaked it in a Poly / Paint thinner mix, let it cure for a day, and then repeated twice.
- Let it sit for a week or so, then wax and polish the ring and you’re done.
Next time I’ll probably make a mixed wood ring, that I boil more thoroughly from a slightly thicker veneer. The thicker veneer allows a bit more sanding and shaping before you expose the nest layer which ruins the illusion of a single impossible piece of wood.
I’ll also take pictures, that was difficult with how much CA glue was going around but hey, life is a struggle.
