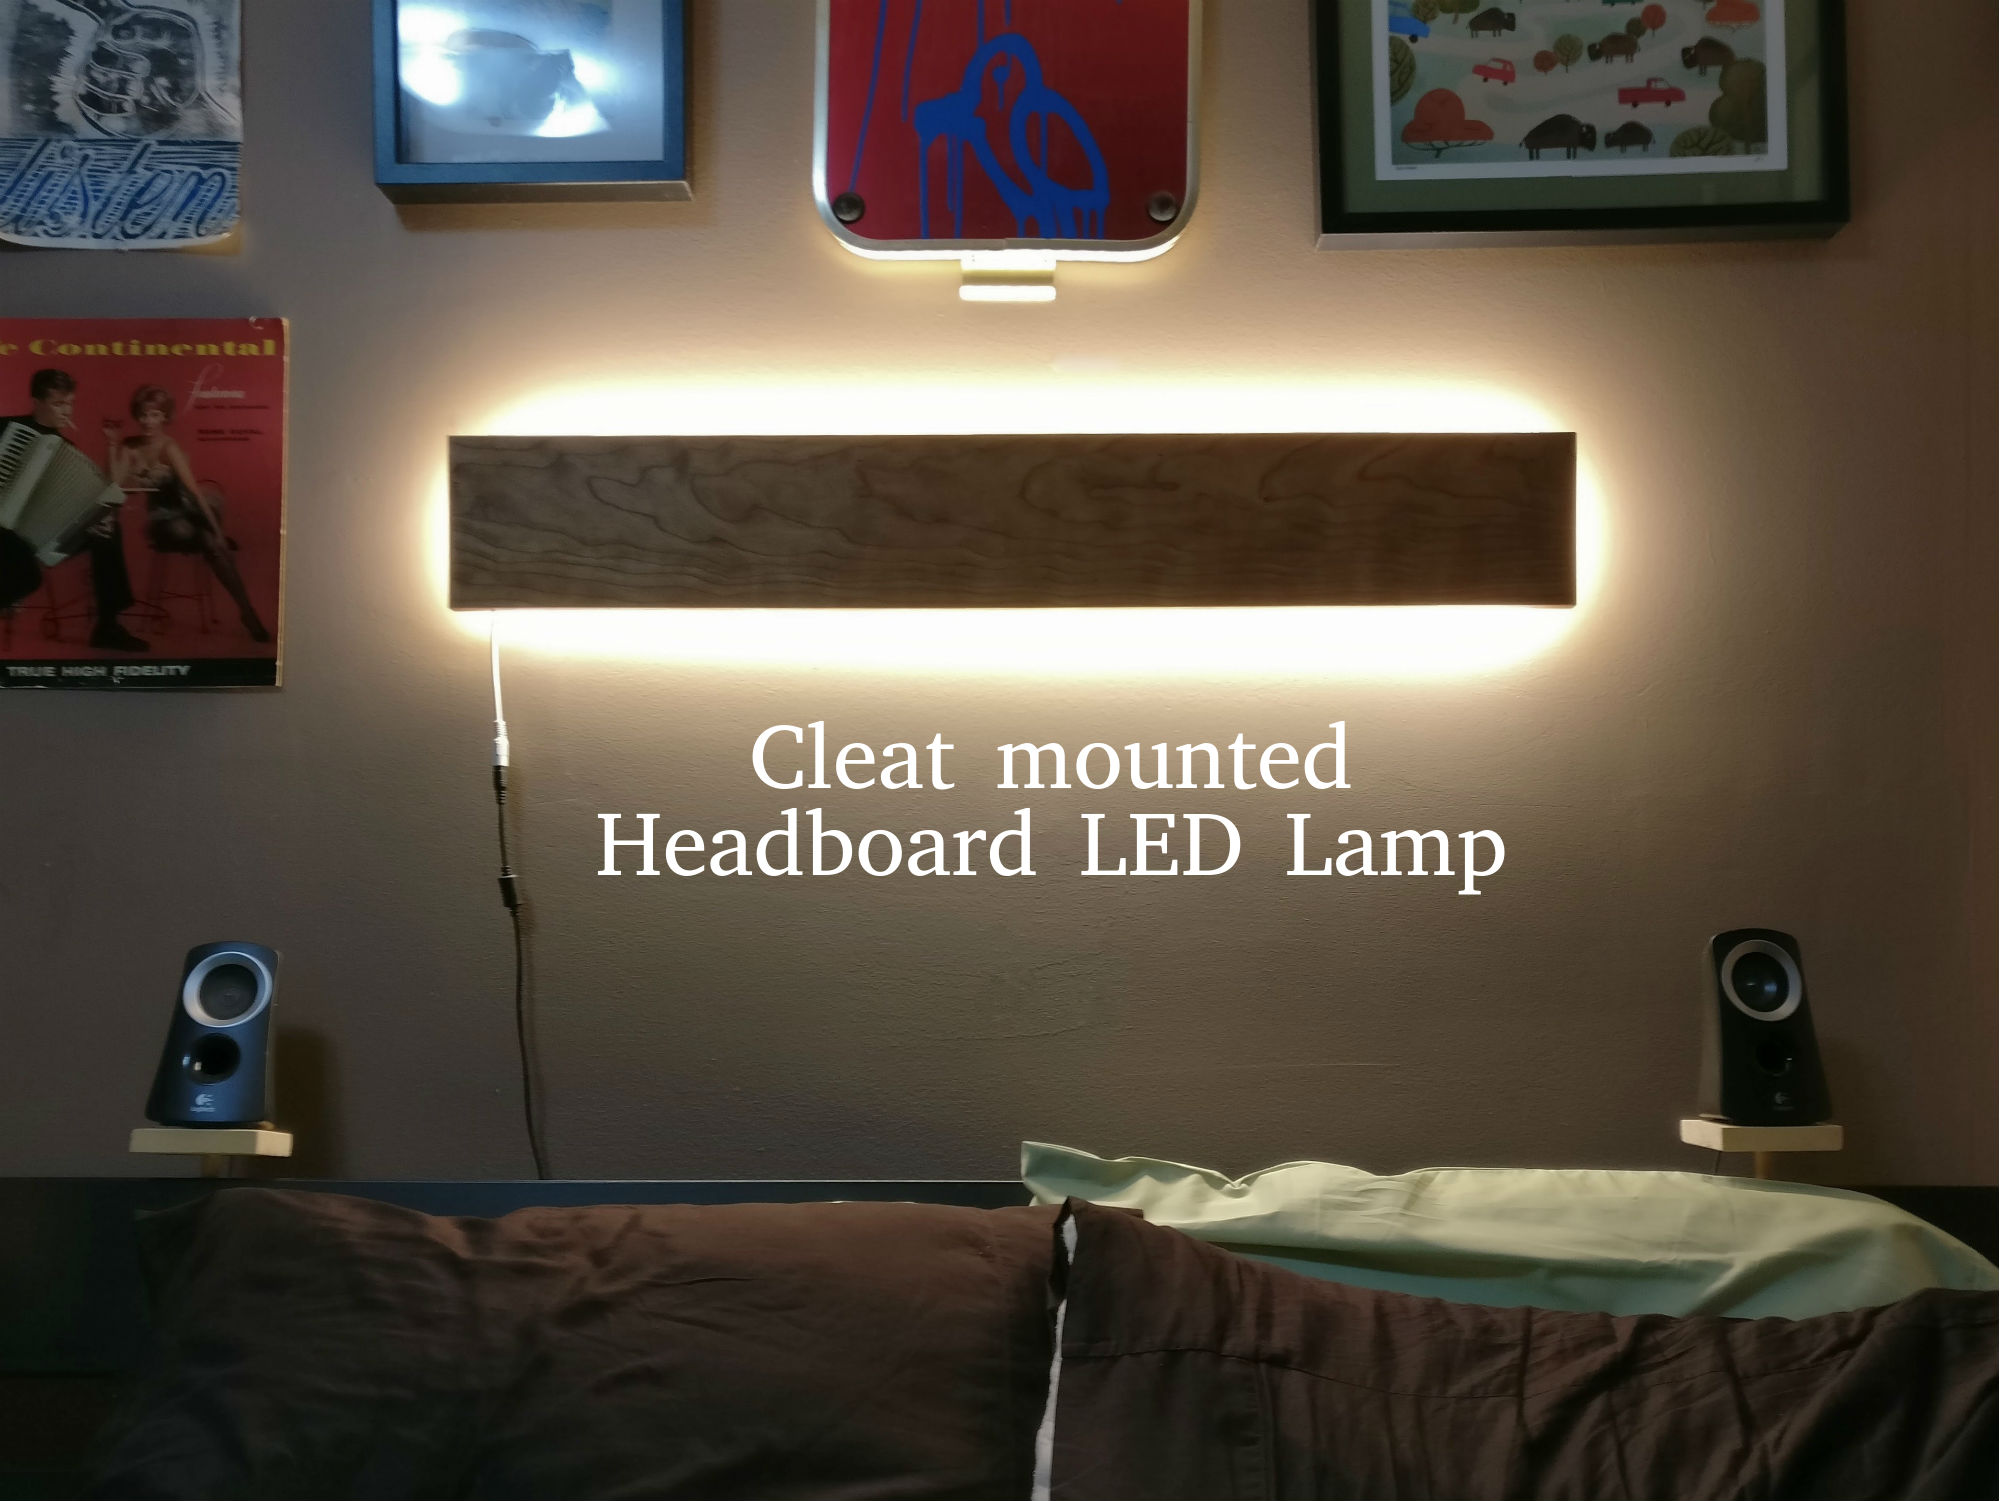
Depending on the order these posts go up, you may or may not already know that my Brutalist Lamp broke apart at the seams. It was lovely, and I’m more than a little sad about it laying in my carport in pieces, but to be honest, when I was making it I didn’t give enough thought to where it would be going, or the type of light I would like it to cast so I’m glad I got the opportunity to revisit a bedroom lighting project. This headboard lamp is as simple as they come but borrows some of the principles from the Brutalist Lamp to improve this simple cherry headboard lamp.
Properties of a headboard lamp
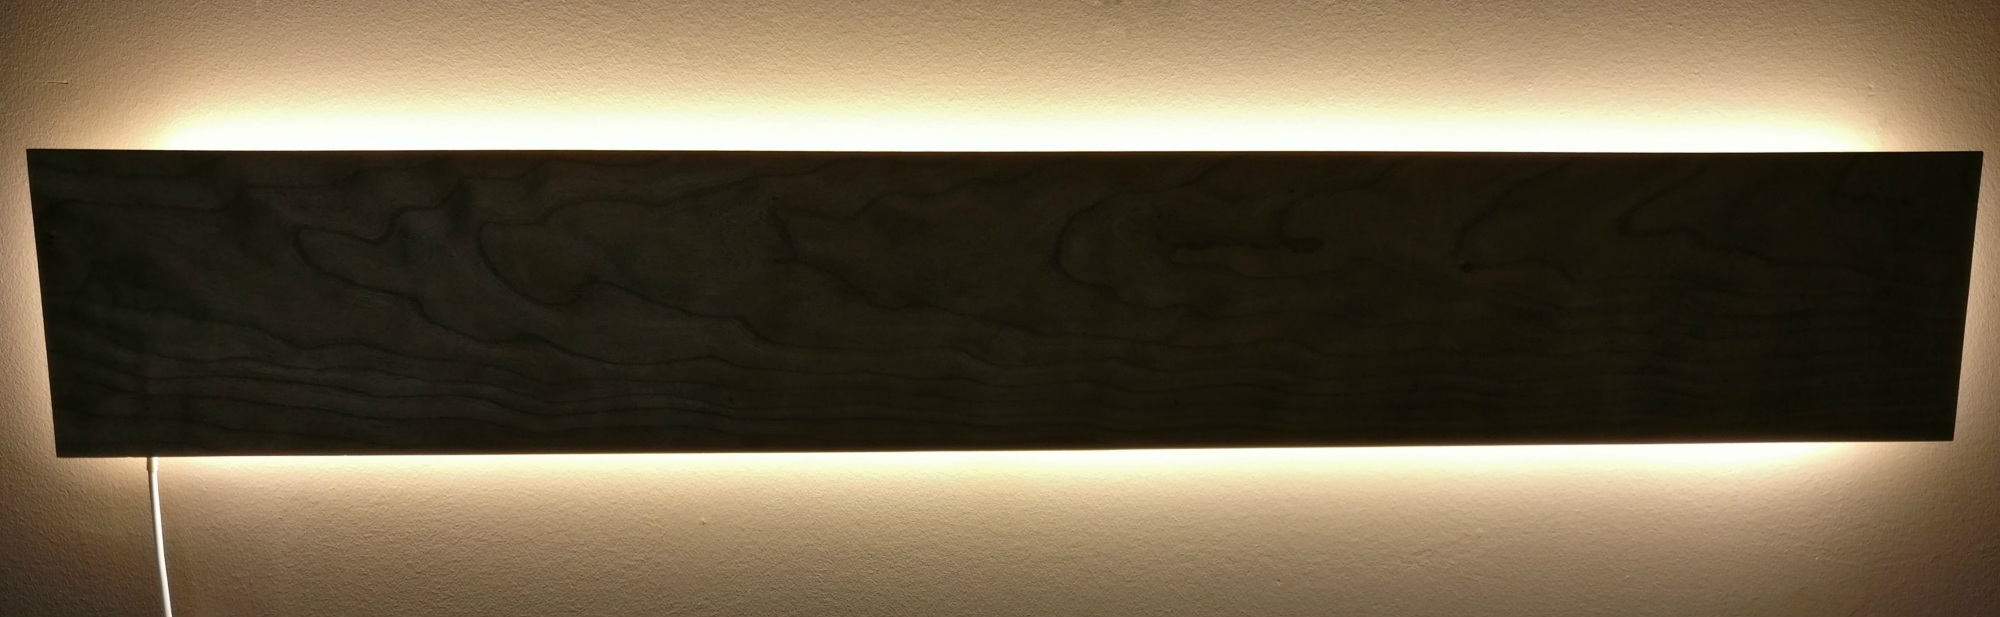
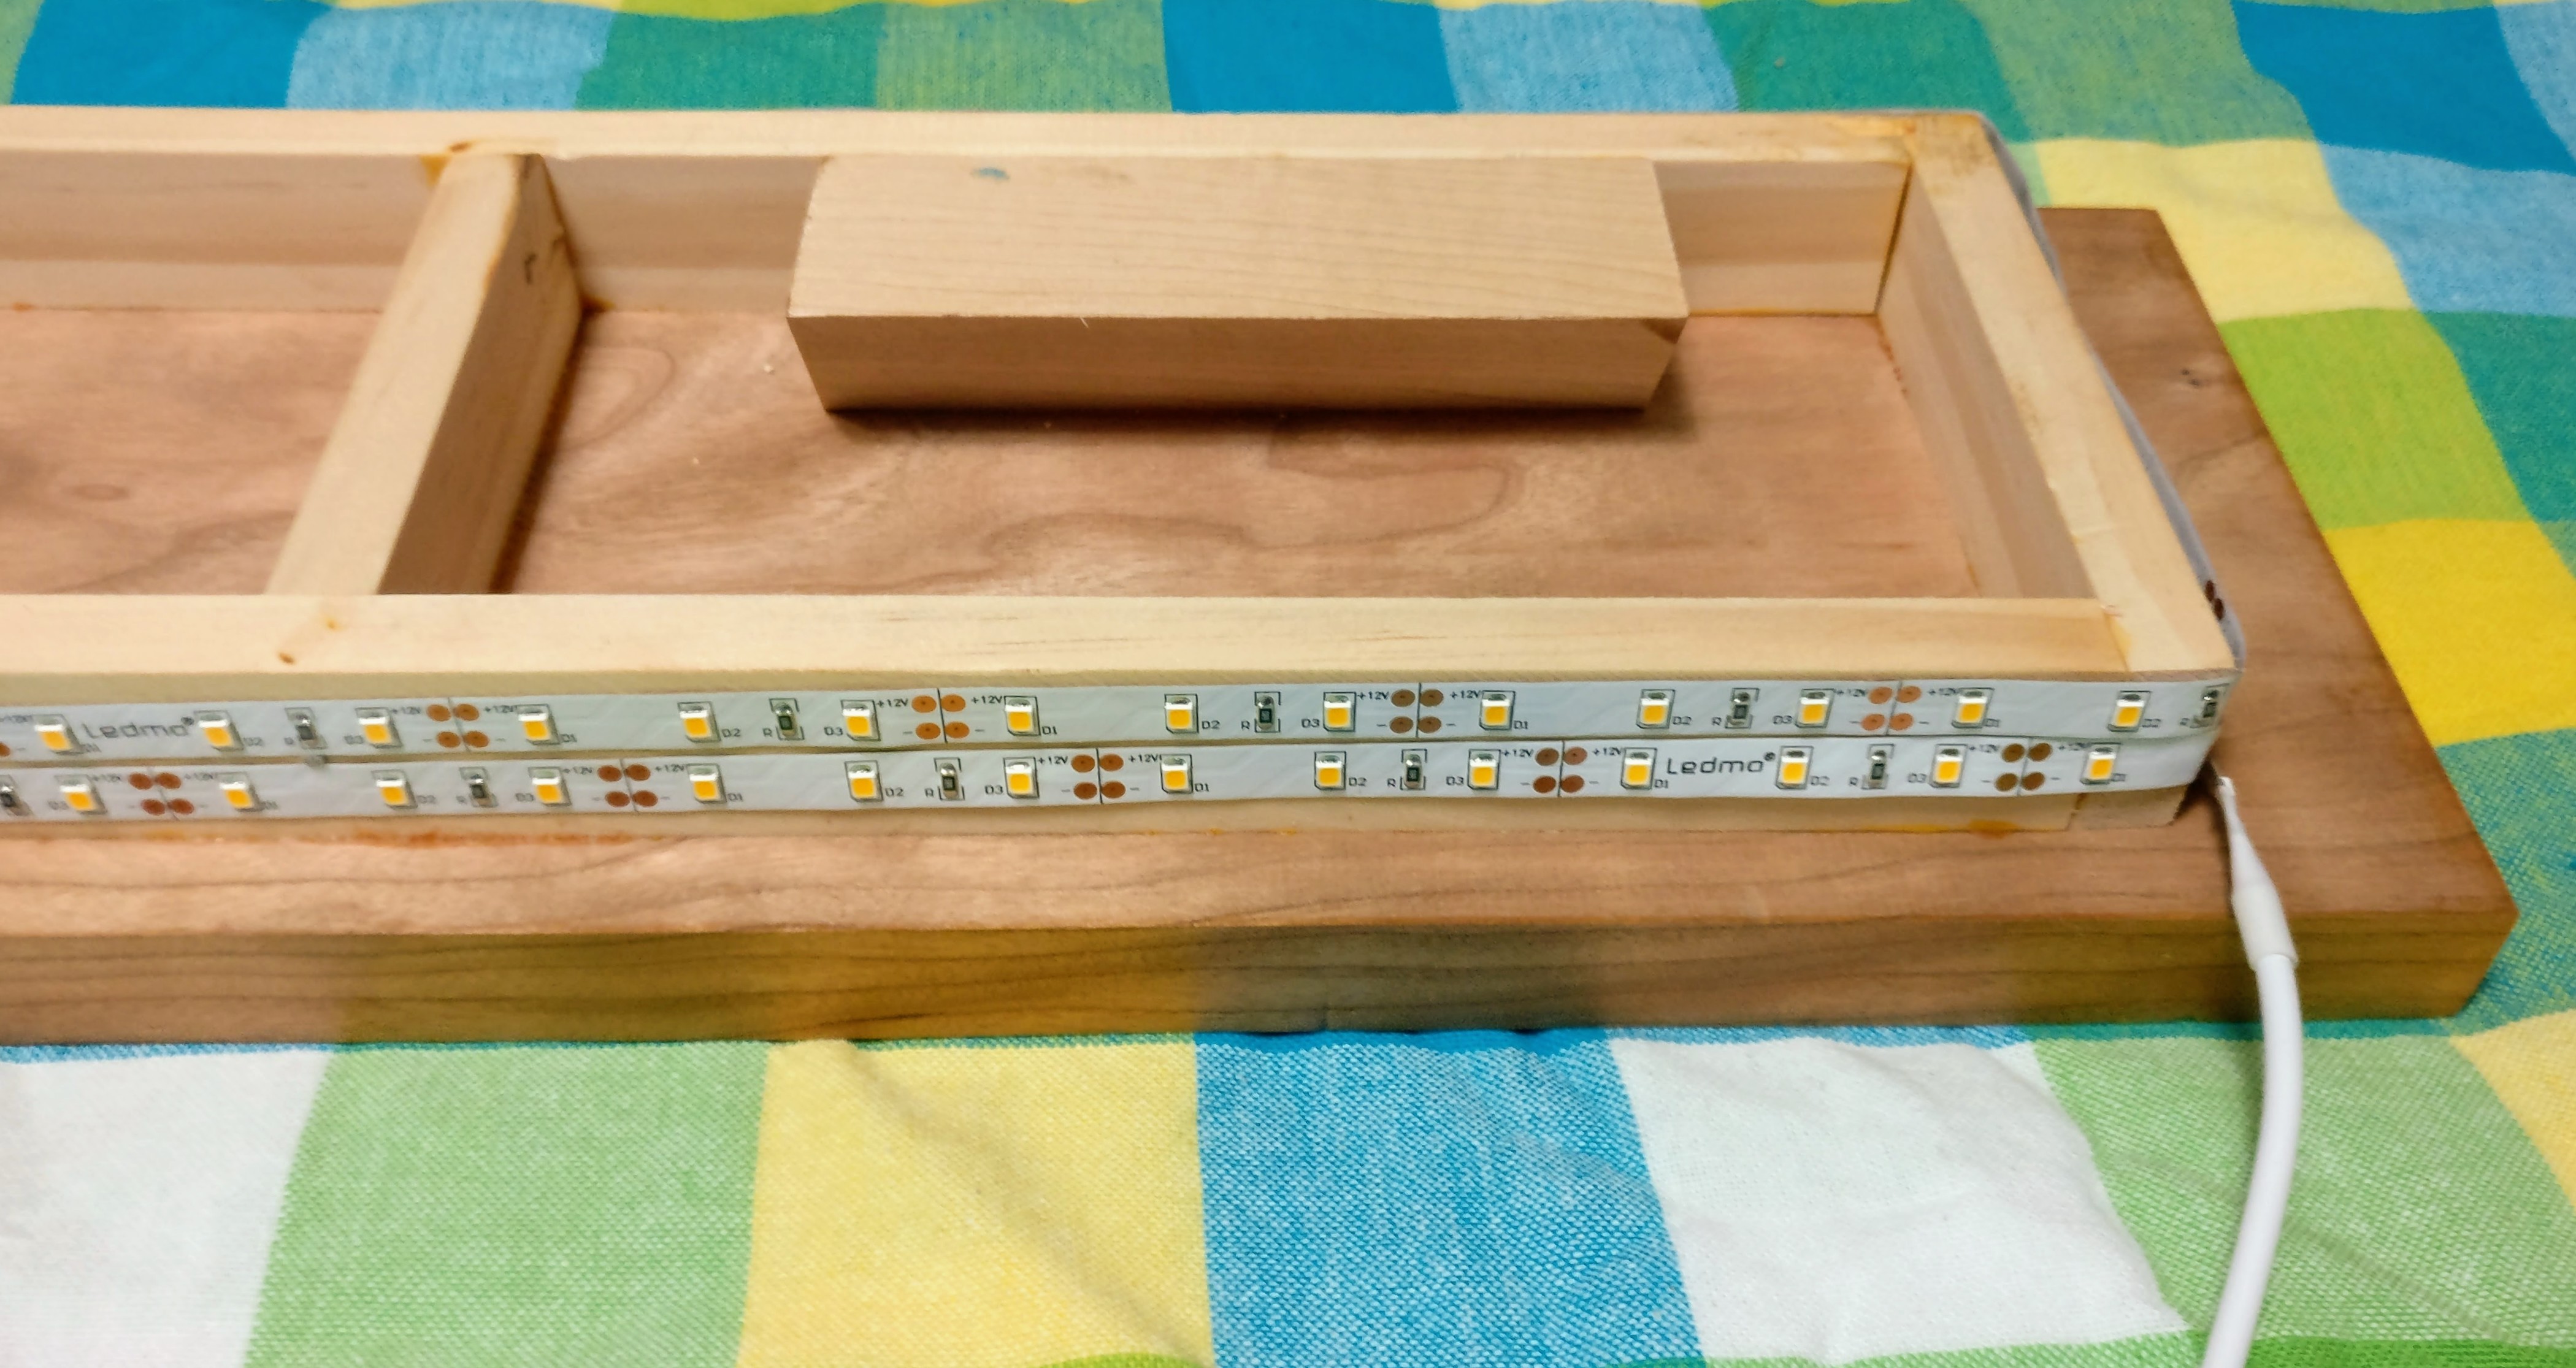
I wanted a lamp that would cast an even light for reading, and to illuminate my room without the overhead “high beams.” Because I do so much crafting and whatnot, I keep the overhead lights a daylight blue for better veracity of colour but that’s not my preferred tone of light. I like very warm lights, way down near 2400K – thankfully, you can get LED light strips in just about any colour temperature so that’s what I did. Hurray!
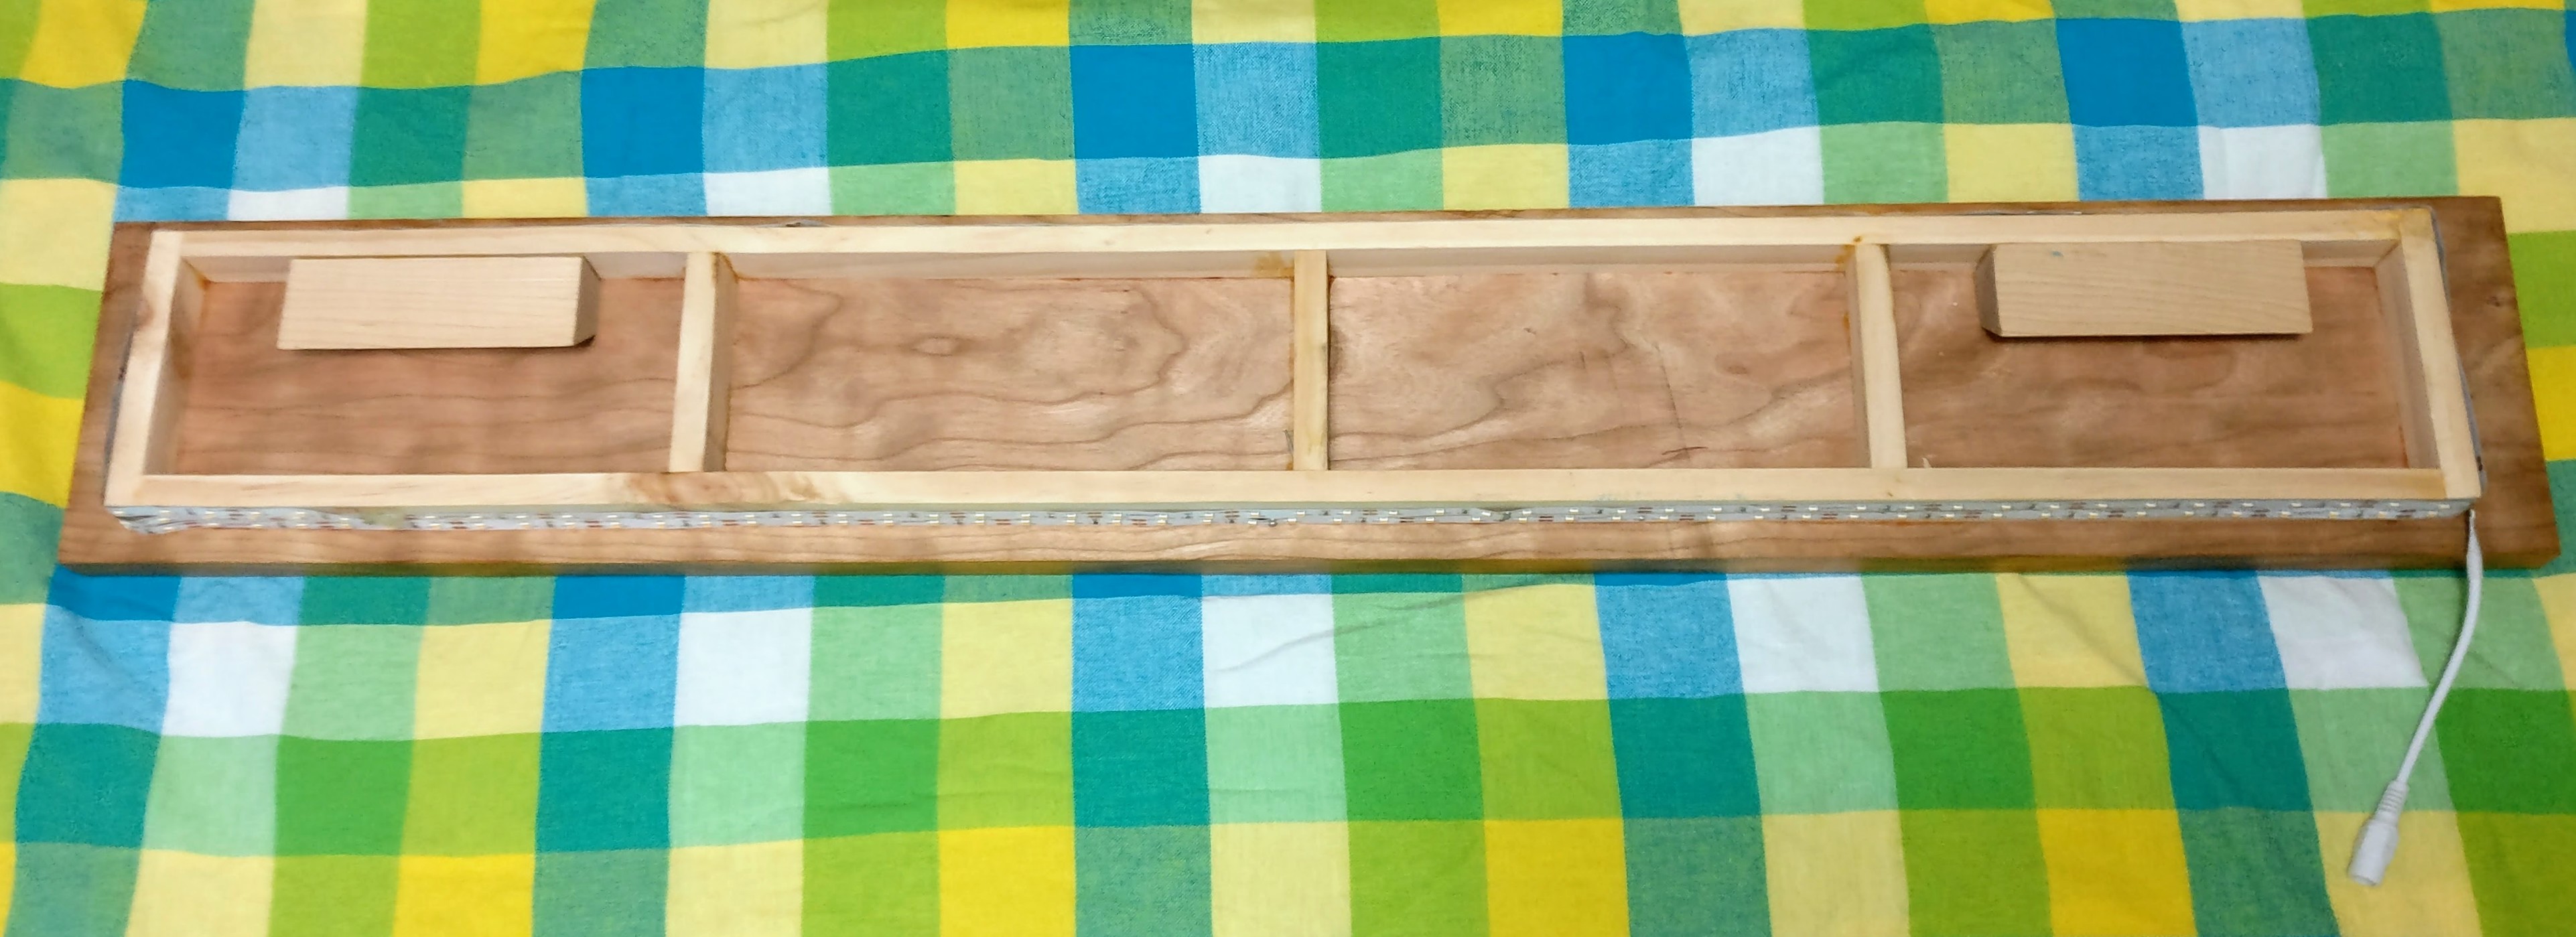
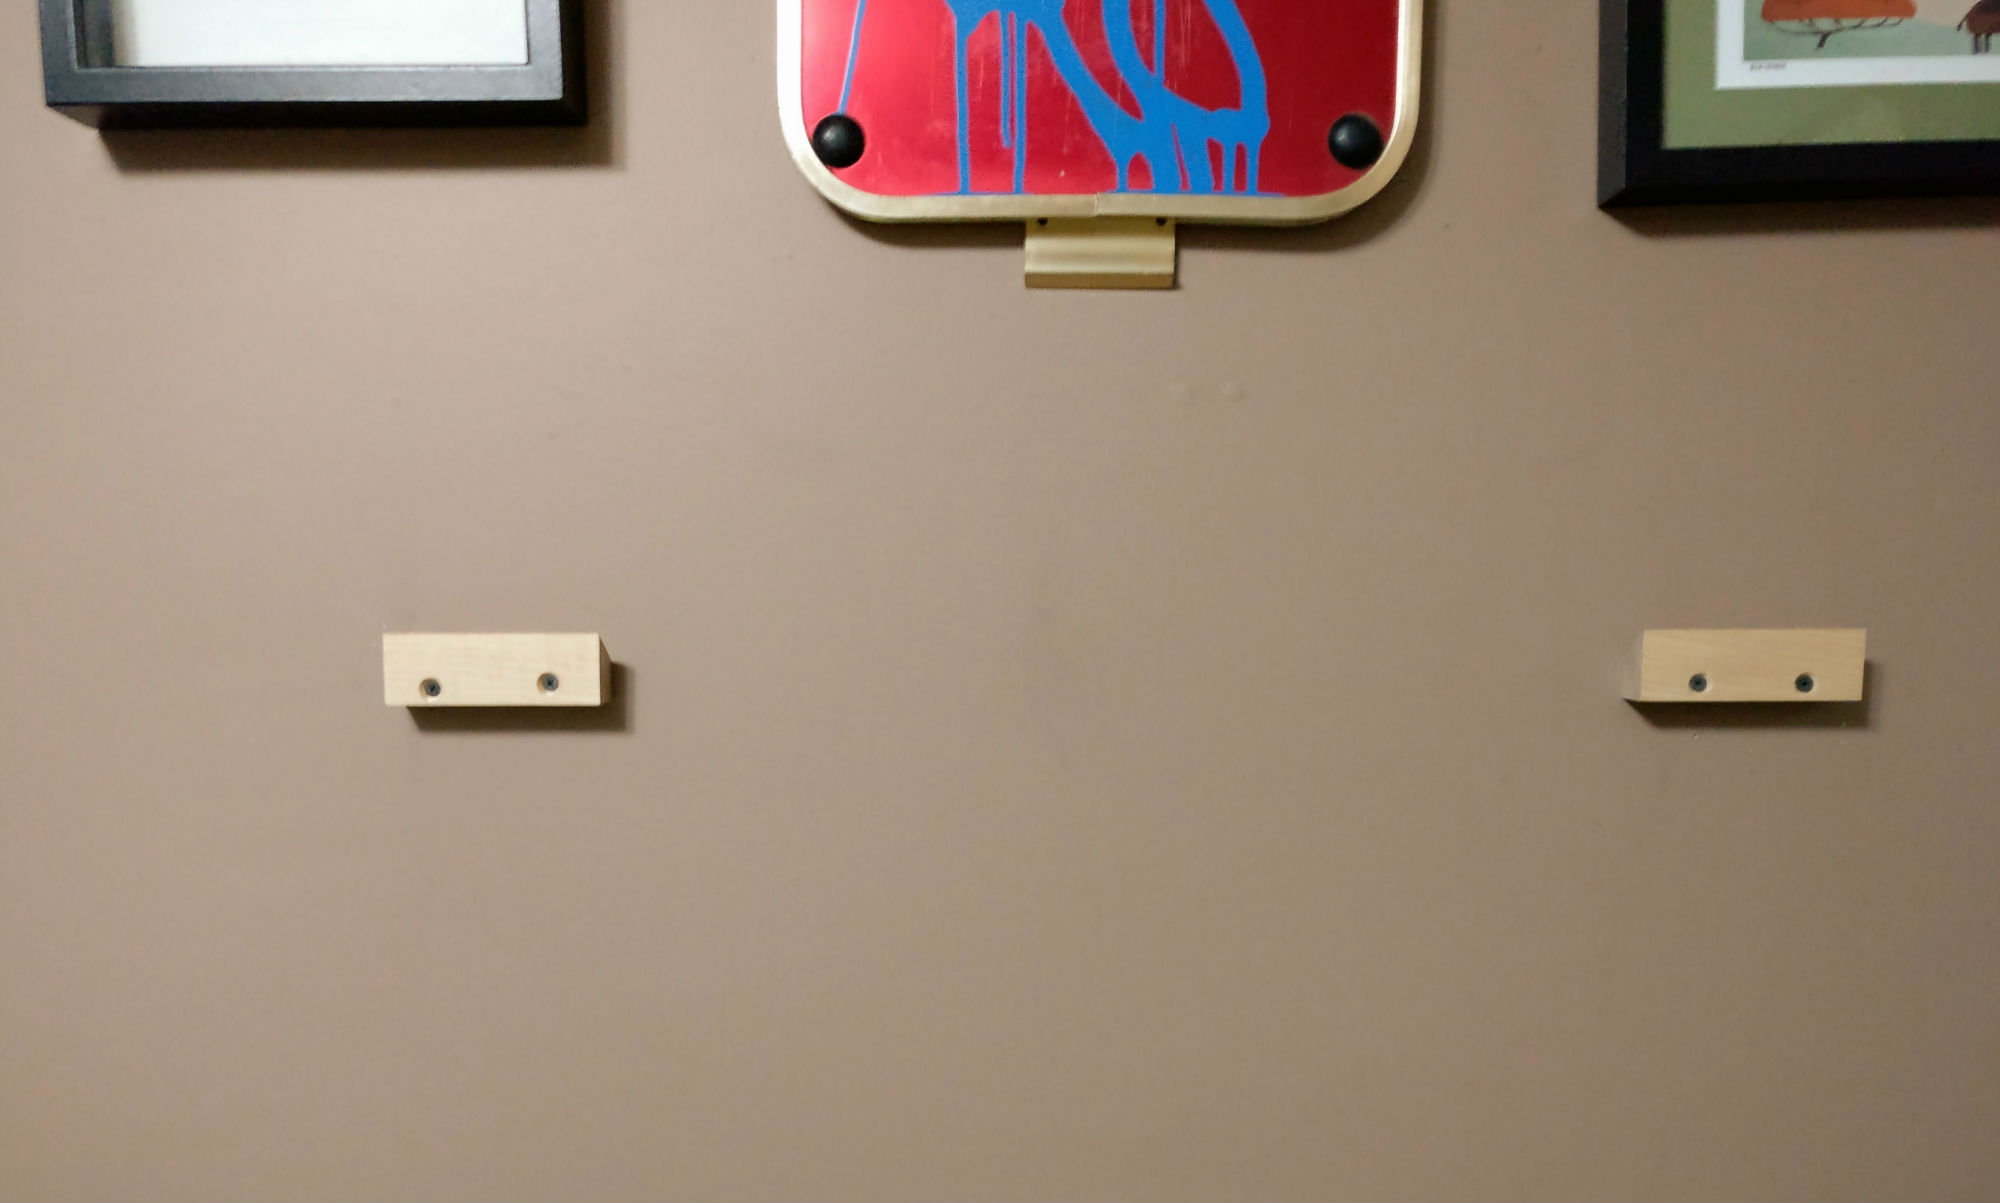
I wanted to make sure that this lamp was to some small extent versatile and that if I was going to mount more things to my wall I wanted to be laying a foundation rather than just making messy holes should I decide to change things up, so I went with a french cleat system that I built into the frame on the backside.
Materials and method
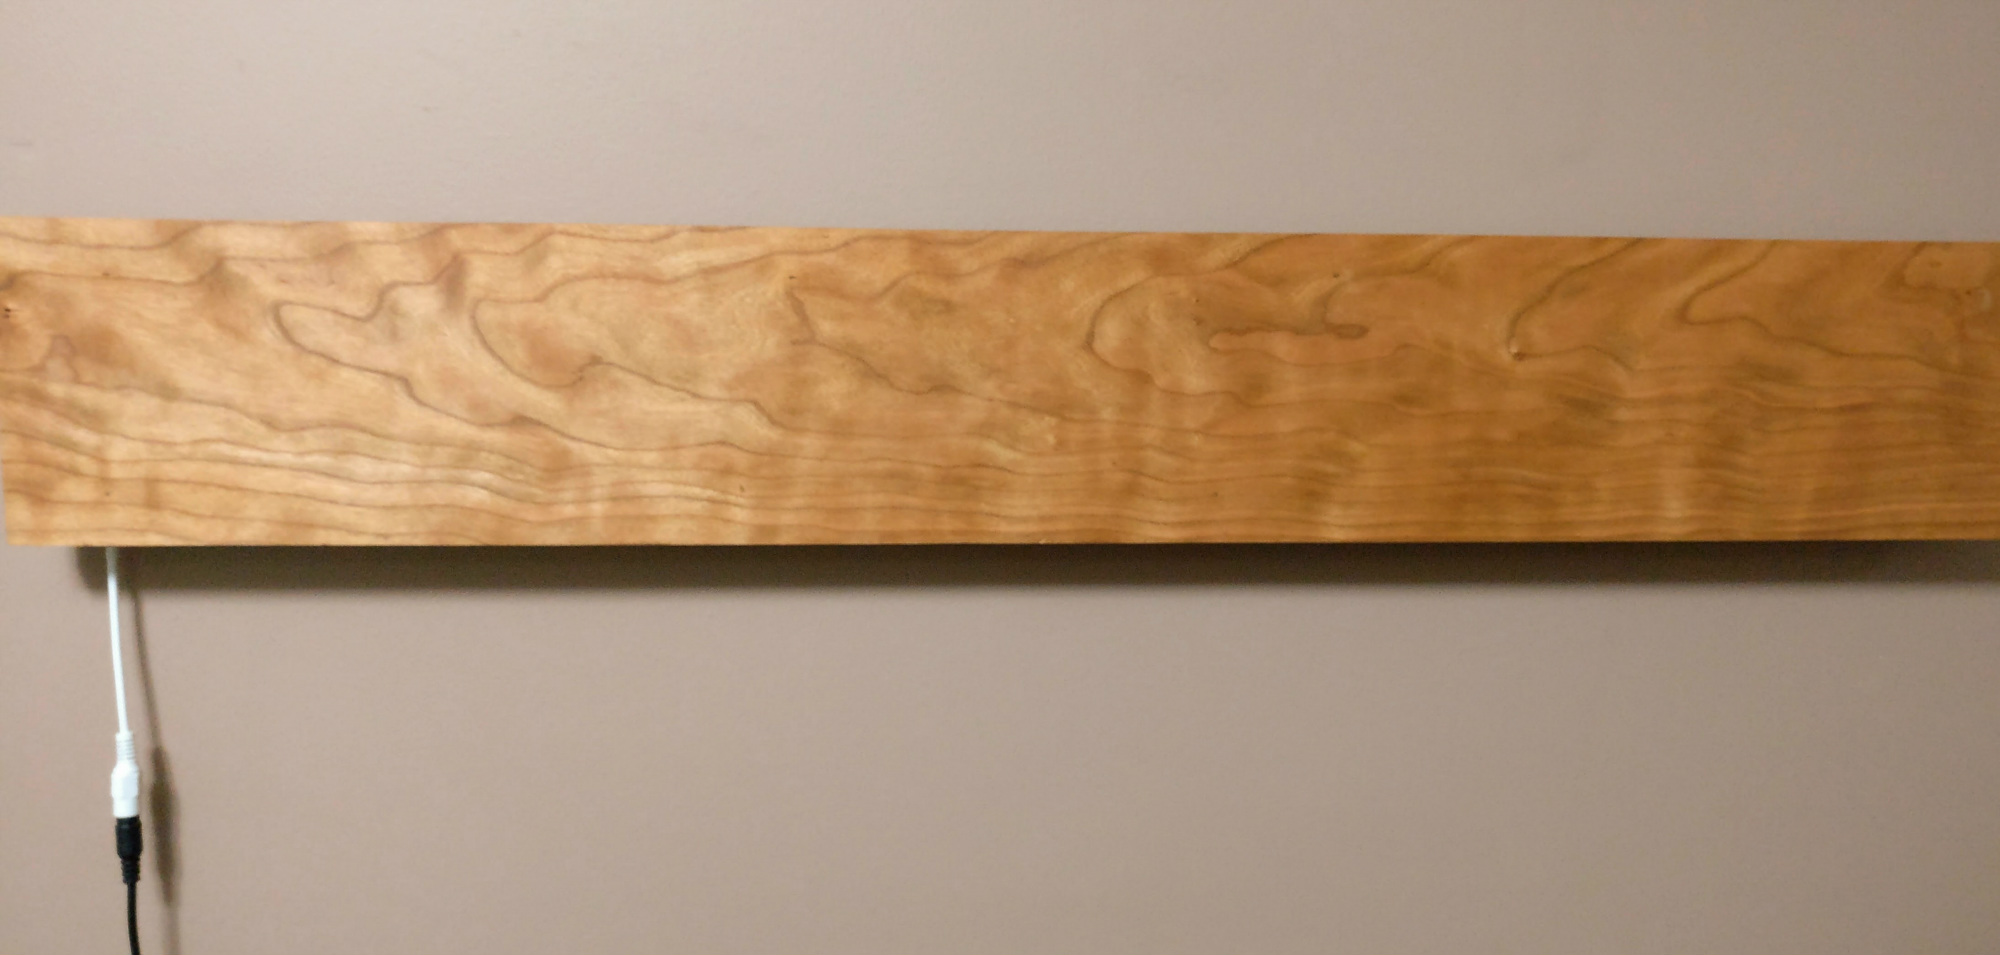
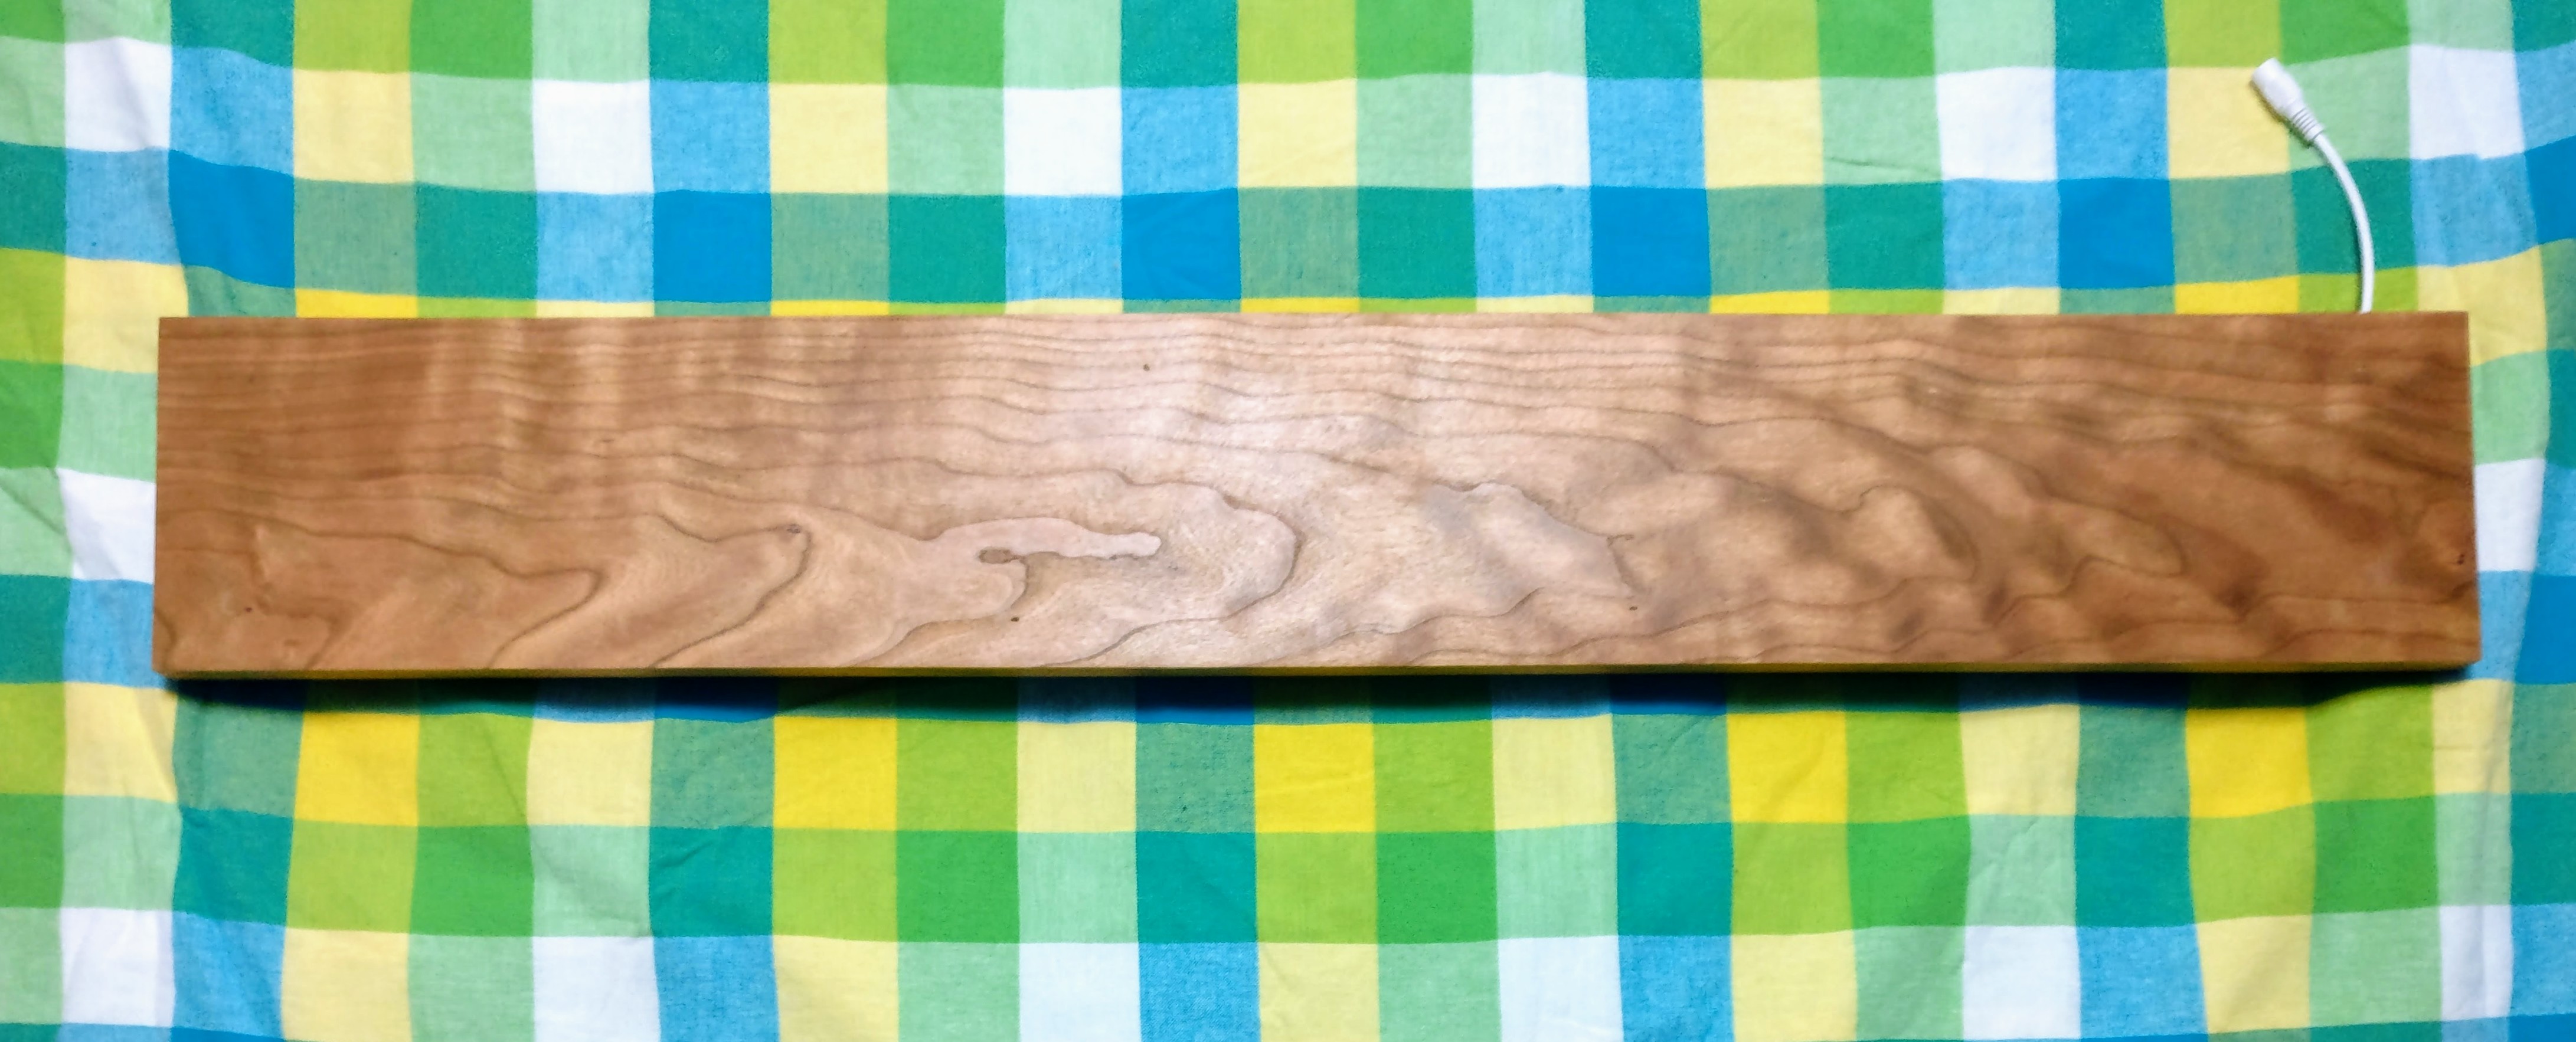
The face of this lamp is a piece of figured cherry I picked up at Windsor Plywood and have been (if you’ll excuse the pun) cherishing for more than a year now. It’s the only piece of stock that lives inside my house with me, and I’ve really struggled to find projects that suit it and that are worth expending this precious resource on! In an ideal world, I’d resaw it and use thinner pieces as inlays, but I’m just not set up for that currently. To make the face of this lamp I just sent each face through my lunchbox planer at a minimal depth once, and then used a cabinet maker’s scraper to deal with any slightly rough spots before proceeding directly to fine sanding at 320 and 400.
A few coats of wipe on poly, and a finish up with furniture wax, and the whole thing is done. I went back and spliced in an old Ikea floor-lamp switch before the transformer so that I can have easy control – I mounted the button to the back side of my actual headboard so that it is both easy to access and out of sight. I’d like to think of some means to disguise the dangling cord, and especially the juncture where it transitions from the white of the LED strip to the black of the transformer cable, but that will have to wait.