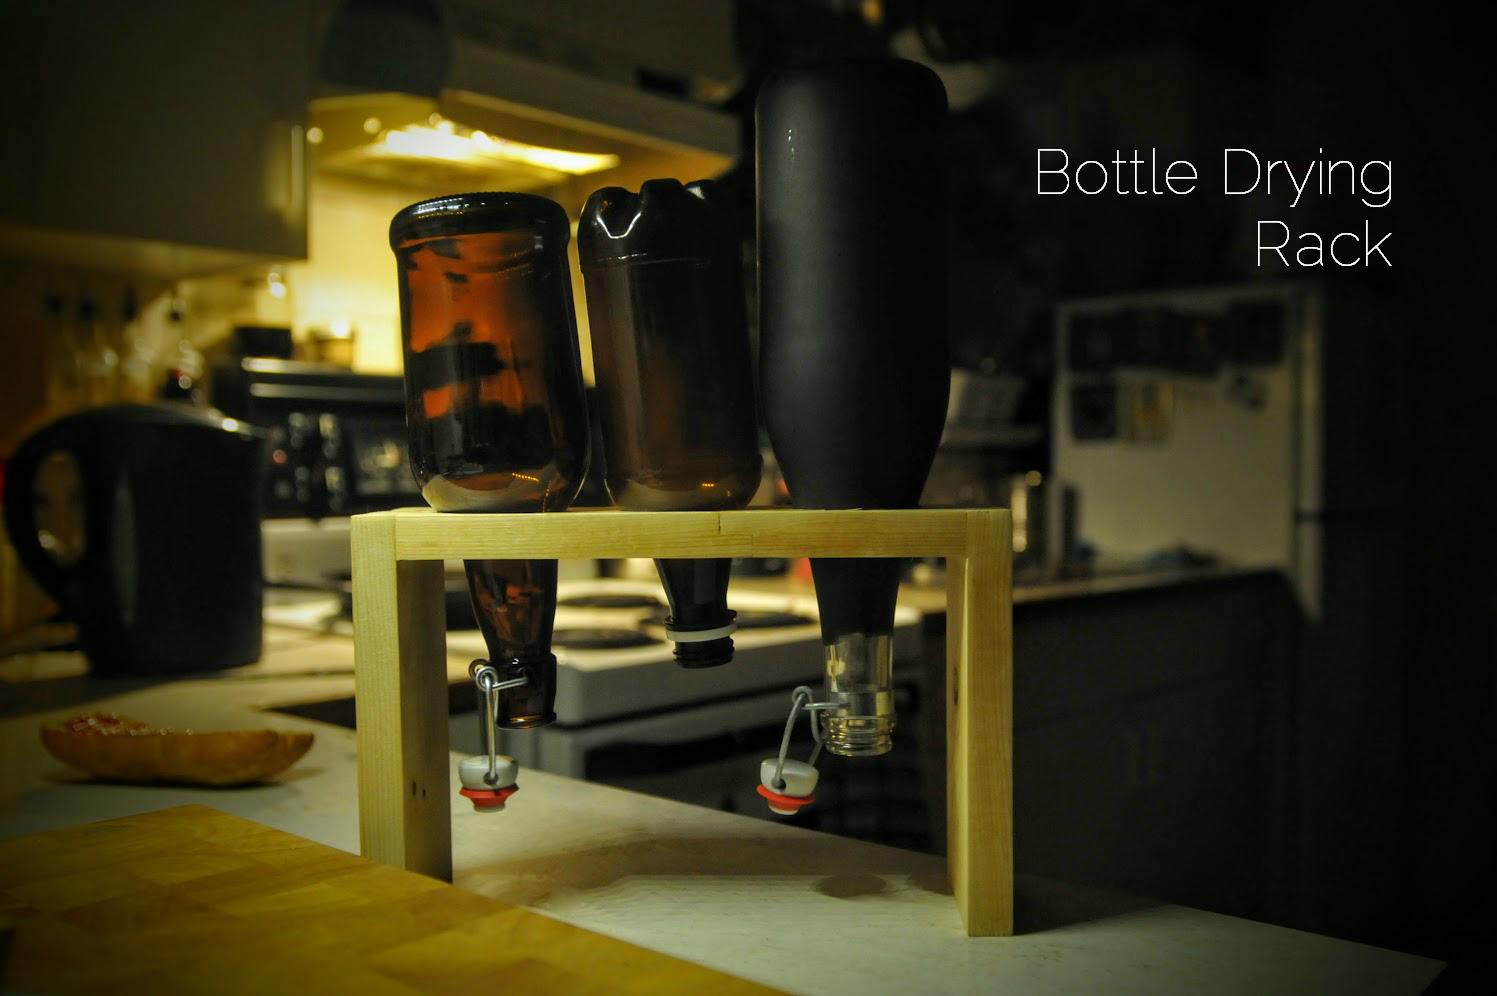
When you’re brewing up a storm of fun fizzy drinks like the Ginger Beer I made last week you need a lot of bottles, and a way to wash them when you’re done drinking. These 500mL swing-top bottles are great, nice and sturdy. But they have long necks and the swing-tops sit awkwardly in the drying rack and create extra points of contact. Most of my fermenting is simple open-air fermenting with natural yeast and bacteria sources, so I’m not overly careful about cross-contamination, but I do like my bottles to be clean when I’m done washing To that end I’ve built a simple bottle drying rack.
It’s hard to make the holes wide enough to accommodate the elbows of the swig-top bottles, my 2 1/8th Forstner bit creates a hole just bit enough to force through the elbows, but I’m going to keep my eyes open for a slightly larger bit for the next iteration.
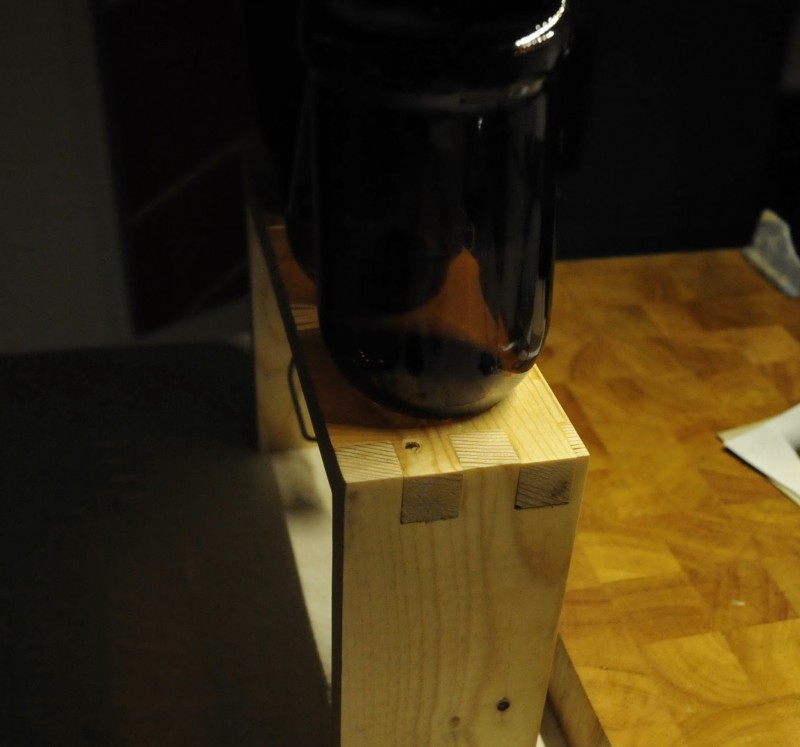
To make this version I ripped a couple of planks out of an odd sized piece of pine and sent them through the planer. Long legs are required to allow for long necked bottles and to ensure that the swing tops don’t drag on the countertop, but that left me with a piece hardly long enough to put two well-spaced holes in for the top. I wanted to dry three bottles at a time, so I joined the two smaller pieces of plank with a half-lap scarf joint (visible in the lead image), which in this case I used the router table to carve out. I’ve also made half-lap joints on the table saw, but it requires a lot of passes or setting up a dado stack which I’ll admit makes me nervous, and would have required that I build a custom zero clearance insert first, and I was already washing some bottles so the speed of the build was a factor. After I joined the two pieces of plank with a pair of clamps and a little wood glue, I used the finger joint jig (which I detailed here) on the router table.
My visual spacial sense isn’t good enough to get the finger joints right without sketching them roughly on the wood first – so I recommend doing drawing on the joints before routing out the fingers. More glue and some corner clamps and the bottle drying rack is structurally complete. Sand it down and then finish with a couple of quick coats of wipe on poly and I’m calling this prototype complete.