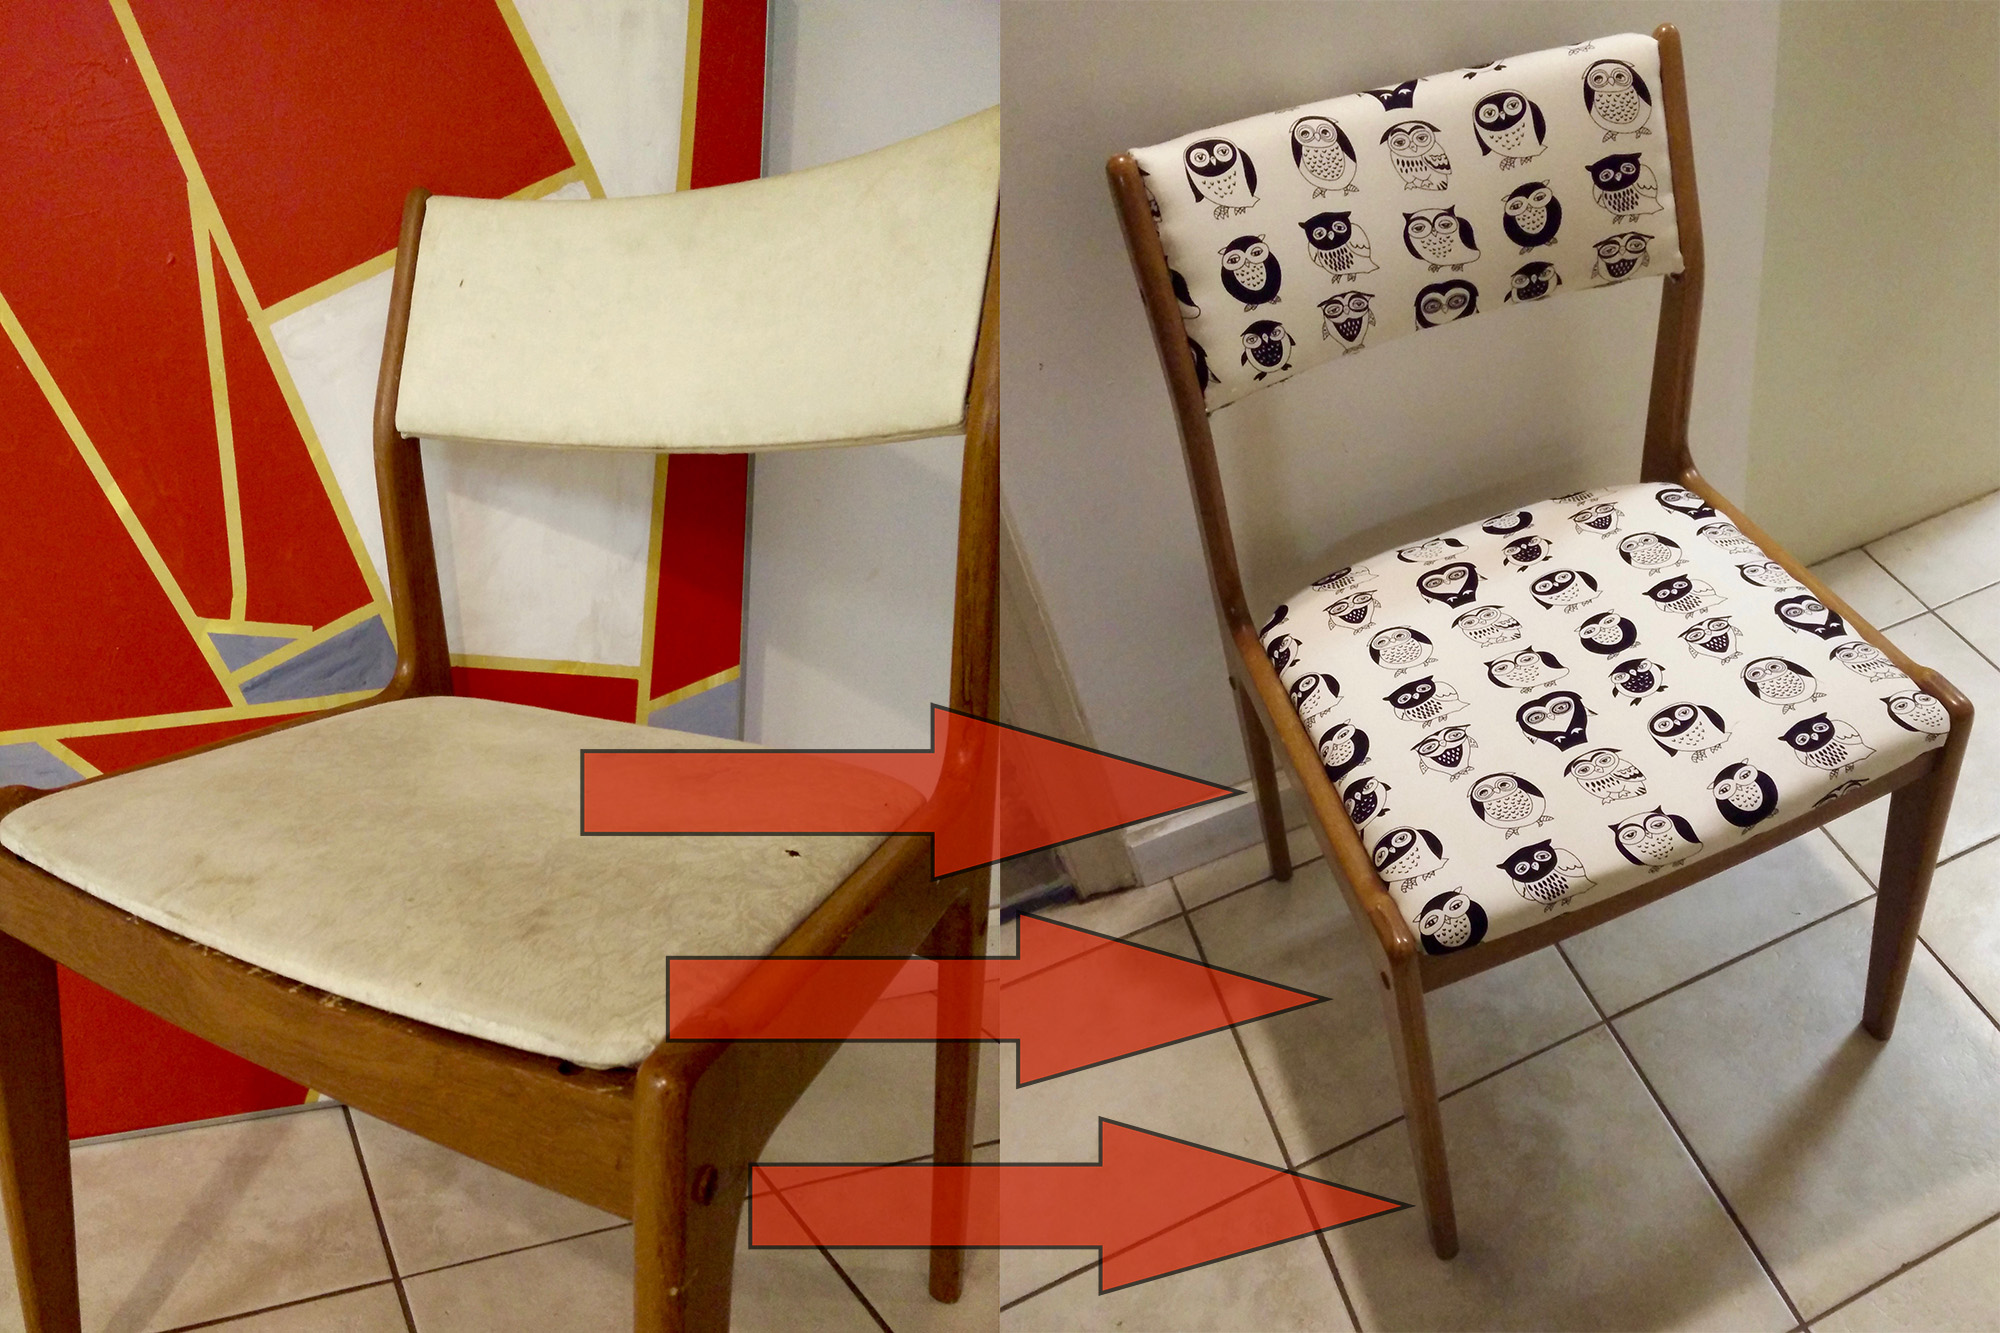
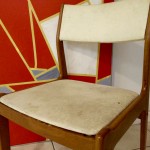
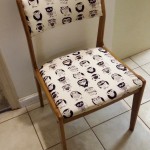
I found and recovered these practical chairs from a downtown curbside at the end of a hectic day of moving. They were worn and damaged, but I saw potential here to replace the old weightlifting bench I was using as seats in the Crafts!WithFriends!! workroom. Reupholstered Chairs GO!
These Scandy MCM chairs have a fairly simple design, come apart easily, and have a relatively small upholstered area, which I thought would make them a good candidate for reupholstery even with my negligible and far distant experience.
I disassembled one chair to see what was going on, trace the pieces, and get the measurements I needed. If I had taken all three apart I would have noticed some flaws in the frame that I could have repaired better at this stage. I also would have noted that there were some small differences between the chairs that should have been accounted for in the fabric and foam allotments, and finally I would have determined that the old foam would be too difficult to bother removing and so would have made greater allowances in my fabric pieces. Working with larger fabric pieces would have made the entire project easier and removed some of the small issues that are present in the final product.
First Sam and I went to the Foam Shop, the staff were helpful and guided me through the fairly simple process of choosing the foam I needed. It also seemed like they had a full-fibre 50 port network hub in full operation so they are almost certainly secretly mining some sort of foam based crypto currency.
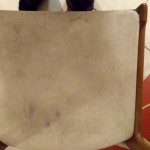
Then it was time to take off all of the old fabric. This part was gross and slow. I bought a special staple and nail pulling tool that made the work go a lot faster, but it’s still a job you’d best do while watching (several) old favourites in Netflix.
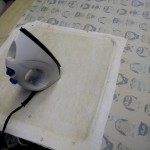
If the old foam had been easier to remove I would have removed it as well, but it was completely glued down, and would be entirely sealed in by the new foam anyway so I decided to leave it in place – a little extra cushioning can’t hurt right? (except when it comes to making sure there is enough fabric to comfortably tighten the seat cover!)
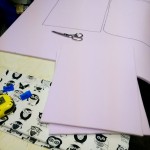
Trace the old fabric pieces onto the new fabric (with tailor’s chalk) and add a consistent and comfortable amount of extra – adding a significant amount of extra would even allow you to fold and press the edge to class the whole thing up – that was my original plan, but by leaving the old foam in place I barely had enough to make it all work without the folded edges. Be mindful if your fabric has a top of how you’d like it to sit on both the seat and the back. Note that if you simply fold the fabric over the back of the chair the top will be up on one side, and down on the other. Fixing this is as simple as making two pieces (plus a seam allowance) and then joining them to match the top ridge, but this would take a little practice to make the seam, pattern, and curve of the chair match up nicely.
Use Spray Adhesive (read the labels to ensure you get the right one and follow the instructions carefully – it requires some attention to do right) to adhere the new foam. Once all of the foam is in place I stacked the pieces together and used some clamps and weights to hold things together overnight, and let the foam acclimate to its new shape.
Line up your fabric, pull it tight, and start stapling. This is tedious, but stick with it. Tack in at four opposing points, and then try to ease between them to avoid creases, folds, and bunching.
I learned a lot of what I needed to know by following a much more detailed post a friend wrote on her old blog for some unnervingly similar chairs.
Notes for Next Time:
- Search out the flaws in the wood
- replace the screws
- reset the dowels
- cut wider allowances on fabric
- pressed seams on fabric
- dealing with stripped hex head screws