Pressing vs. Ironing – a Presser Clapper can help!
If you don’t do a lot of sewing, you might not know that Pressing is different than Ironing, and might not immediately see the benefits of a Presser Clapper. Ironing, is what we do to remove wrinkles and slightly enhance the form of a finished garment – for me that means the larger sections of button up shirts, and getting the collars to sit nicely. Pressing on the other hand is a bit more formative, you are shaping the pieces and seams of a garment in progress, and this can have a dramatic effect on the finished project. It is also a bit more complex and slow. With Ironing you tend to move the iron over the wrinkled surface of the garment to help it lay flat – with Pressing you tend to shape a piece or seam, and then hold the iron still for a stint to help it retain exactly that shape. If Falstaff had been a sewist he might have noted that: Pressing is the better part of sewing. An accurate if inelegant re-write…
Here’s a helpful video from Karen at DidYouMakeThat to help explain how a Presser Clapper is used:
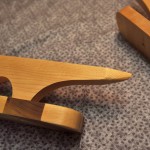
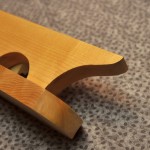
One of the most important tasks for a sewist (and a skill I have yet to master), is pressing open seams. When you are enclosing the seam, or otherwise finishing the inside of a garment, there is a lot of this to do. Lots of narrow allowances and tight folds to ensure that the cut edge of the fabric isn’t exposed and slowly unravelling over the life of your new make. Presser Clappers can really help in this regard – Ironing boards are too spongey to make sharp folds and turn seams, and holding a hot seam as it cools can scald delicate fingers. Finally, the point at the edge of our little sewing anvil can be used to help turn and press sharp points – think collars.
Designing and Building a Presser Clapper.
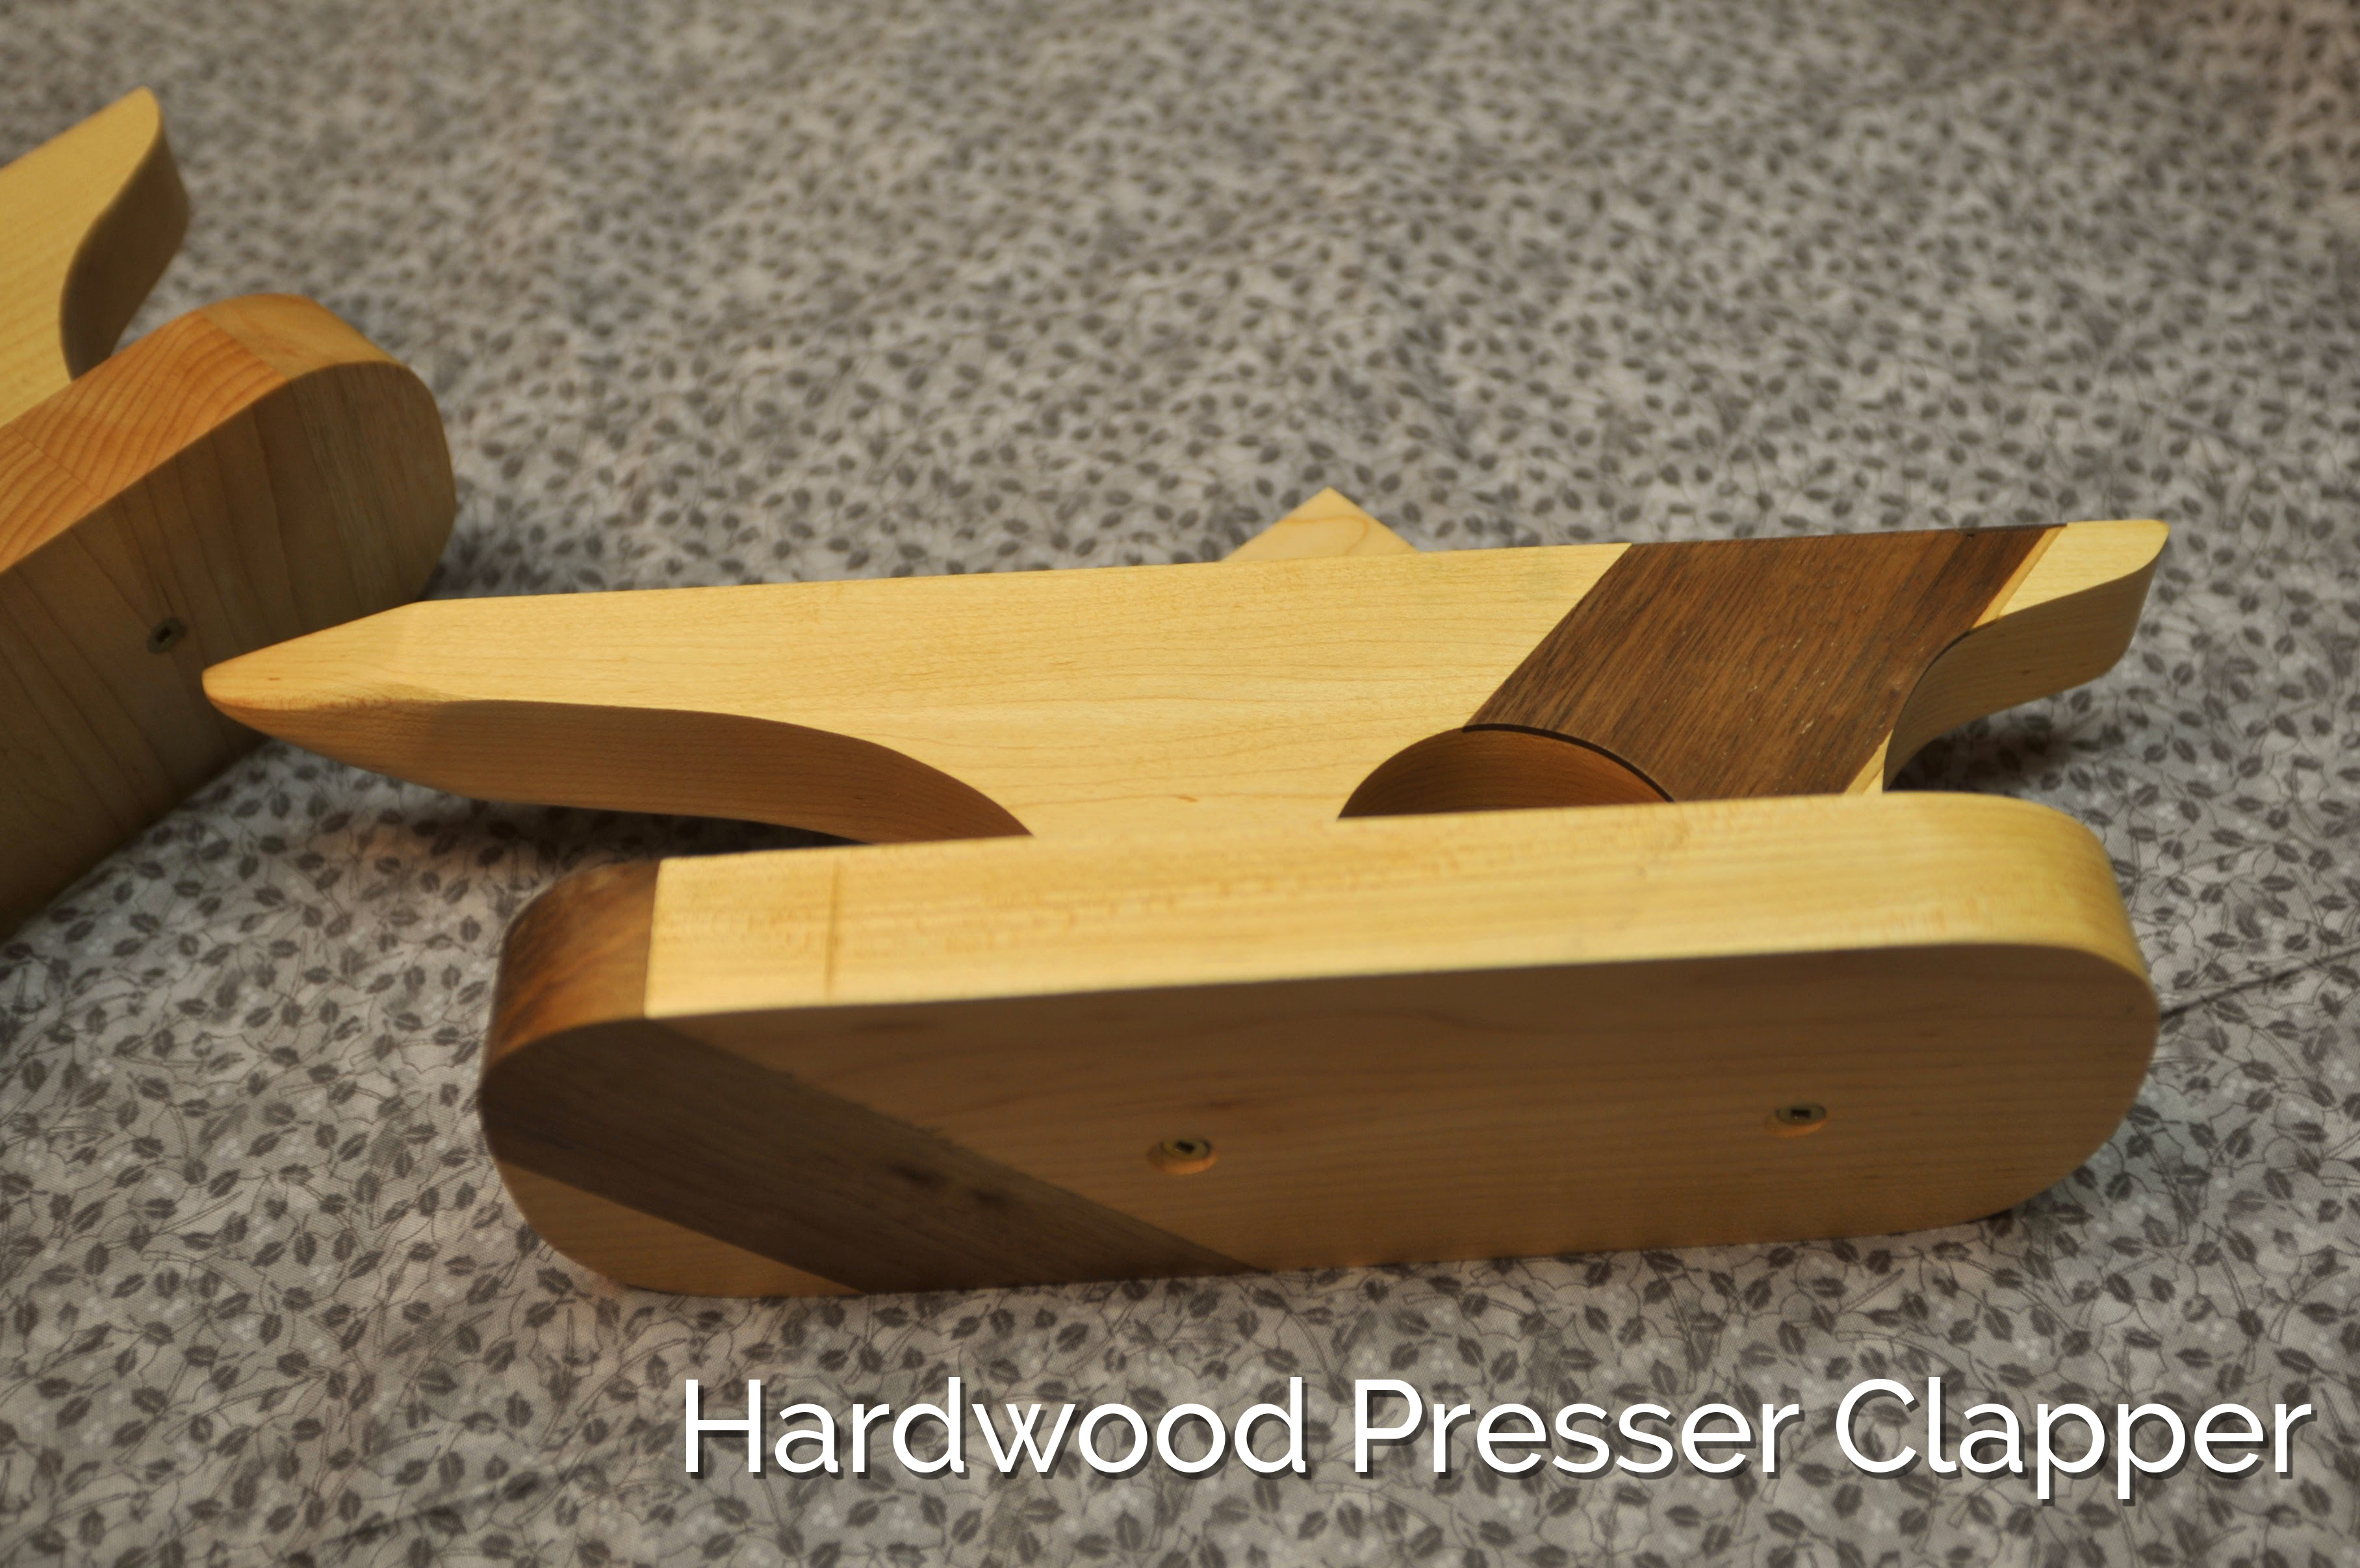
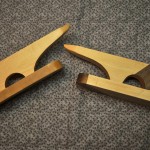
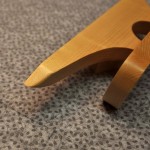
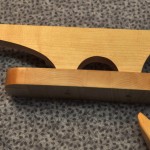
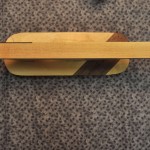
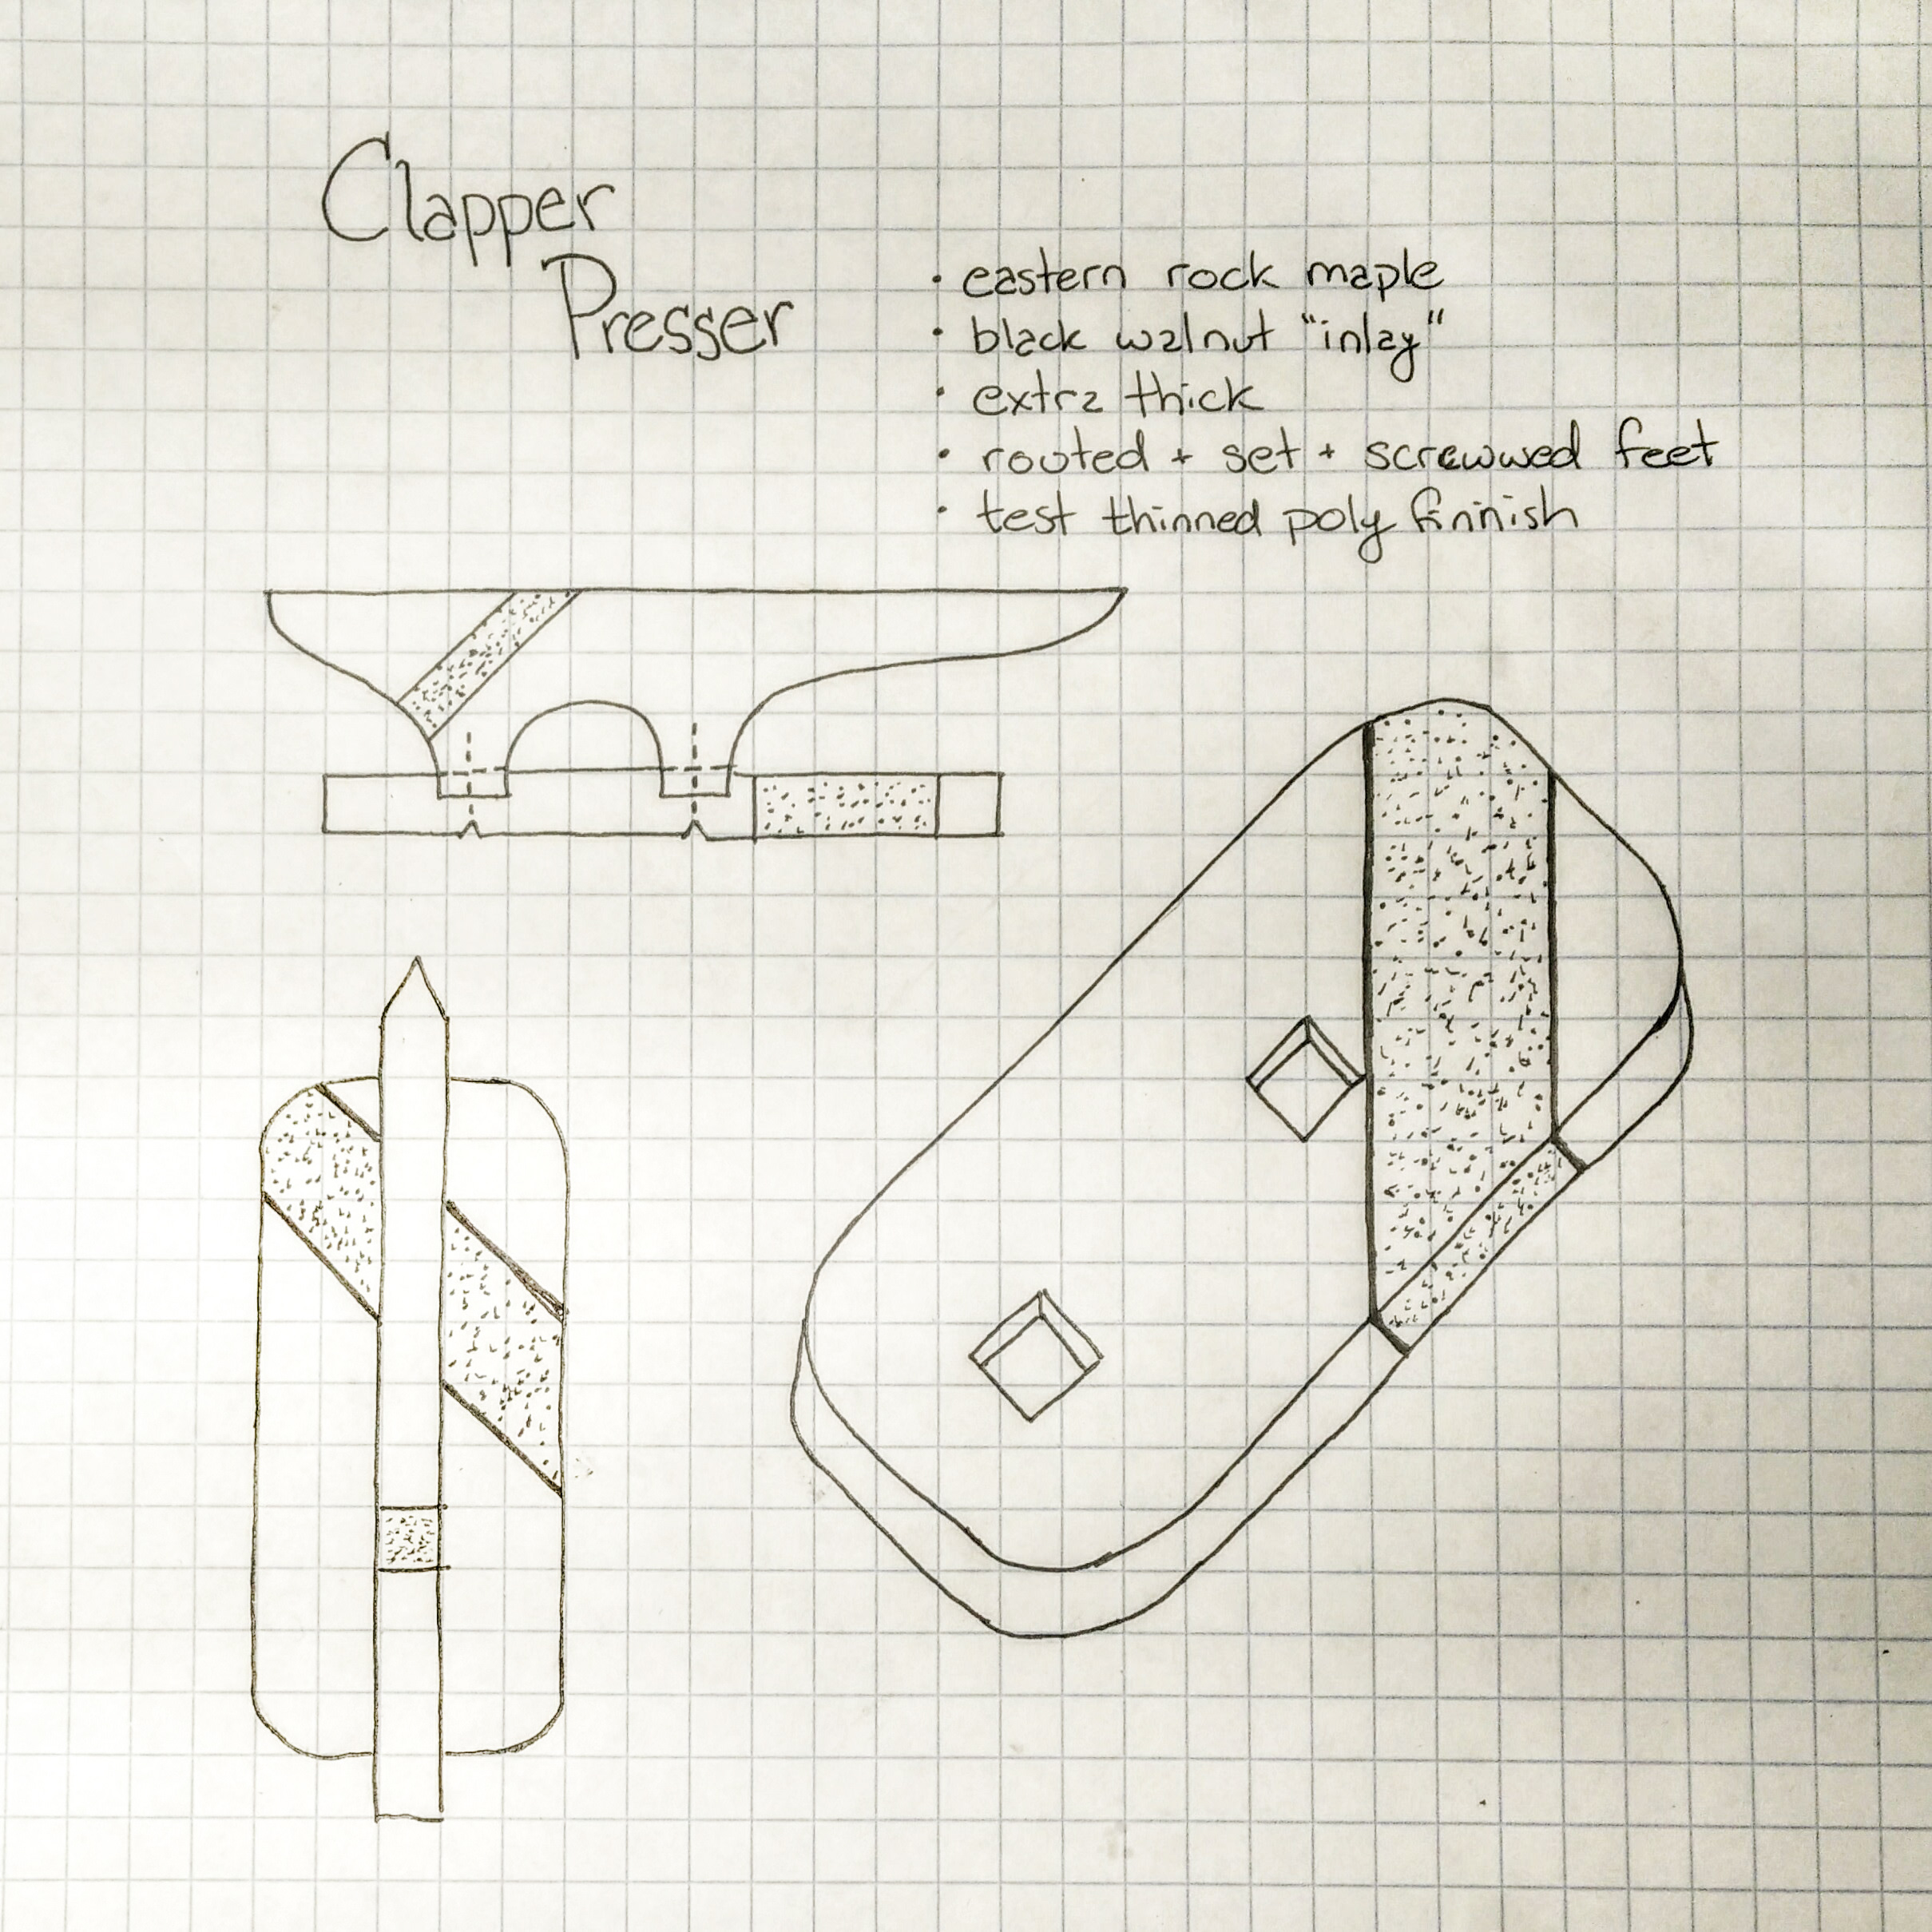 The Presser Clapper is a pretty simple build on the surface – two shaped pieces stuck together and well sanded. The choice of materials is similarly straightforward – essentially you want a firm, tight grained hardwood – anything suitable for a cutting board is a good choice. I’ve made three of these, one for myself and two for dear friends. My intent is for these tools to last as long into the future as possible, be easy to maintain, and quietly gorgeous. To that end I used an excellent thick piece of Eastern Rock Maple that I bought at Windsor Plywood. It’s the first piece of high quality stock that I’ve ever bought, and it’s hard, Hard, HARD, so it will resist the high temperature and steam of day to day use. Because I wanted them to be a little pretty, I inlayed or laminated in some Black Walnut stock I had available. Black Walnut isn’t the best choice because the grain is a little loose, and w-i-d-e open. I have some concerns that the open grain may catch the fabric a little. I also recessed the legs a little to increase the hold – it worked well, but I need some practice with the precision routering required. Finally, I countersunk and predrilled (in that order so the countersink bit doesn’t bounce and chew up the edges of the hole) a 3 inch deck screw in each of the legs. All three Presser Clappers turned out rock solid.
Sanding, sanding, sanding, five coats of thinned polyurethane applied with a rag, and then some gentle buffing.
If you’re interested in building your own Serger Pepper has posted a pattern that looks like it would work well.
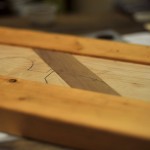
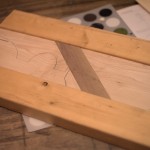
Excuse the white balance on the photos, I’m playing around with my digital photography workflow..
Order of operations:
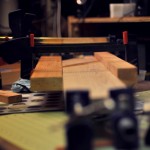
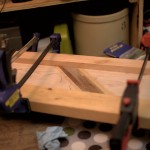
- Laminate and plane your stock.
- Draw out the pieces.
- Cut out pieces on Bandsaw.
- Shape with Spindle Sander.
- Rout recesses for legs
- Sand with progressively finer grits with Random Orbital Sander.
- Countersink and PreDrill leg supports.
- Glue, Assemble, and Clamp.
- Moisten to raise grain and finish sanding.
- Five coats of thinned wipe-on poly.
- Buff.
- Do a bit of research and practice to more tidily recess the legs.
- In the future I’d do the finishing before the assembly as there are some tricky bits that wind up underfinished.