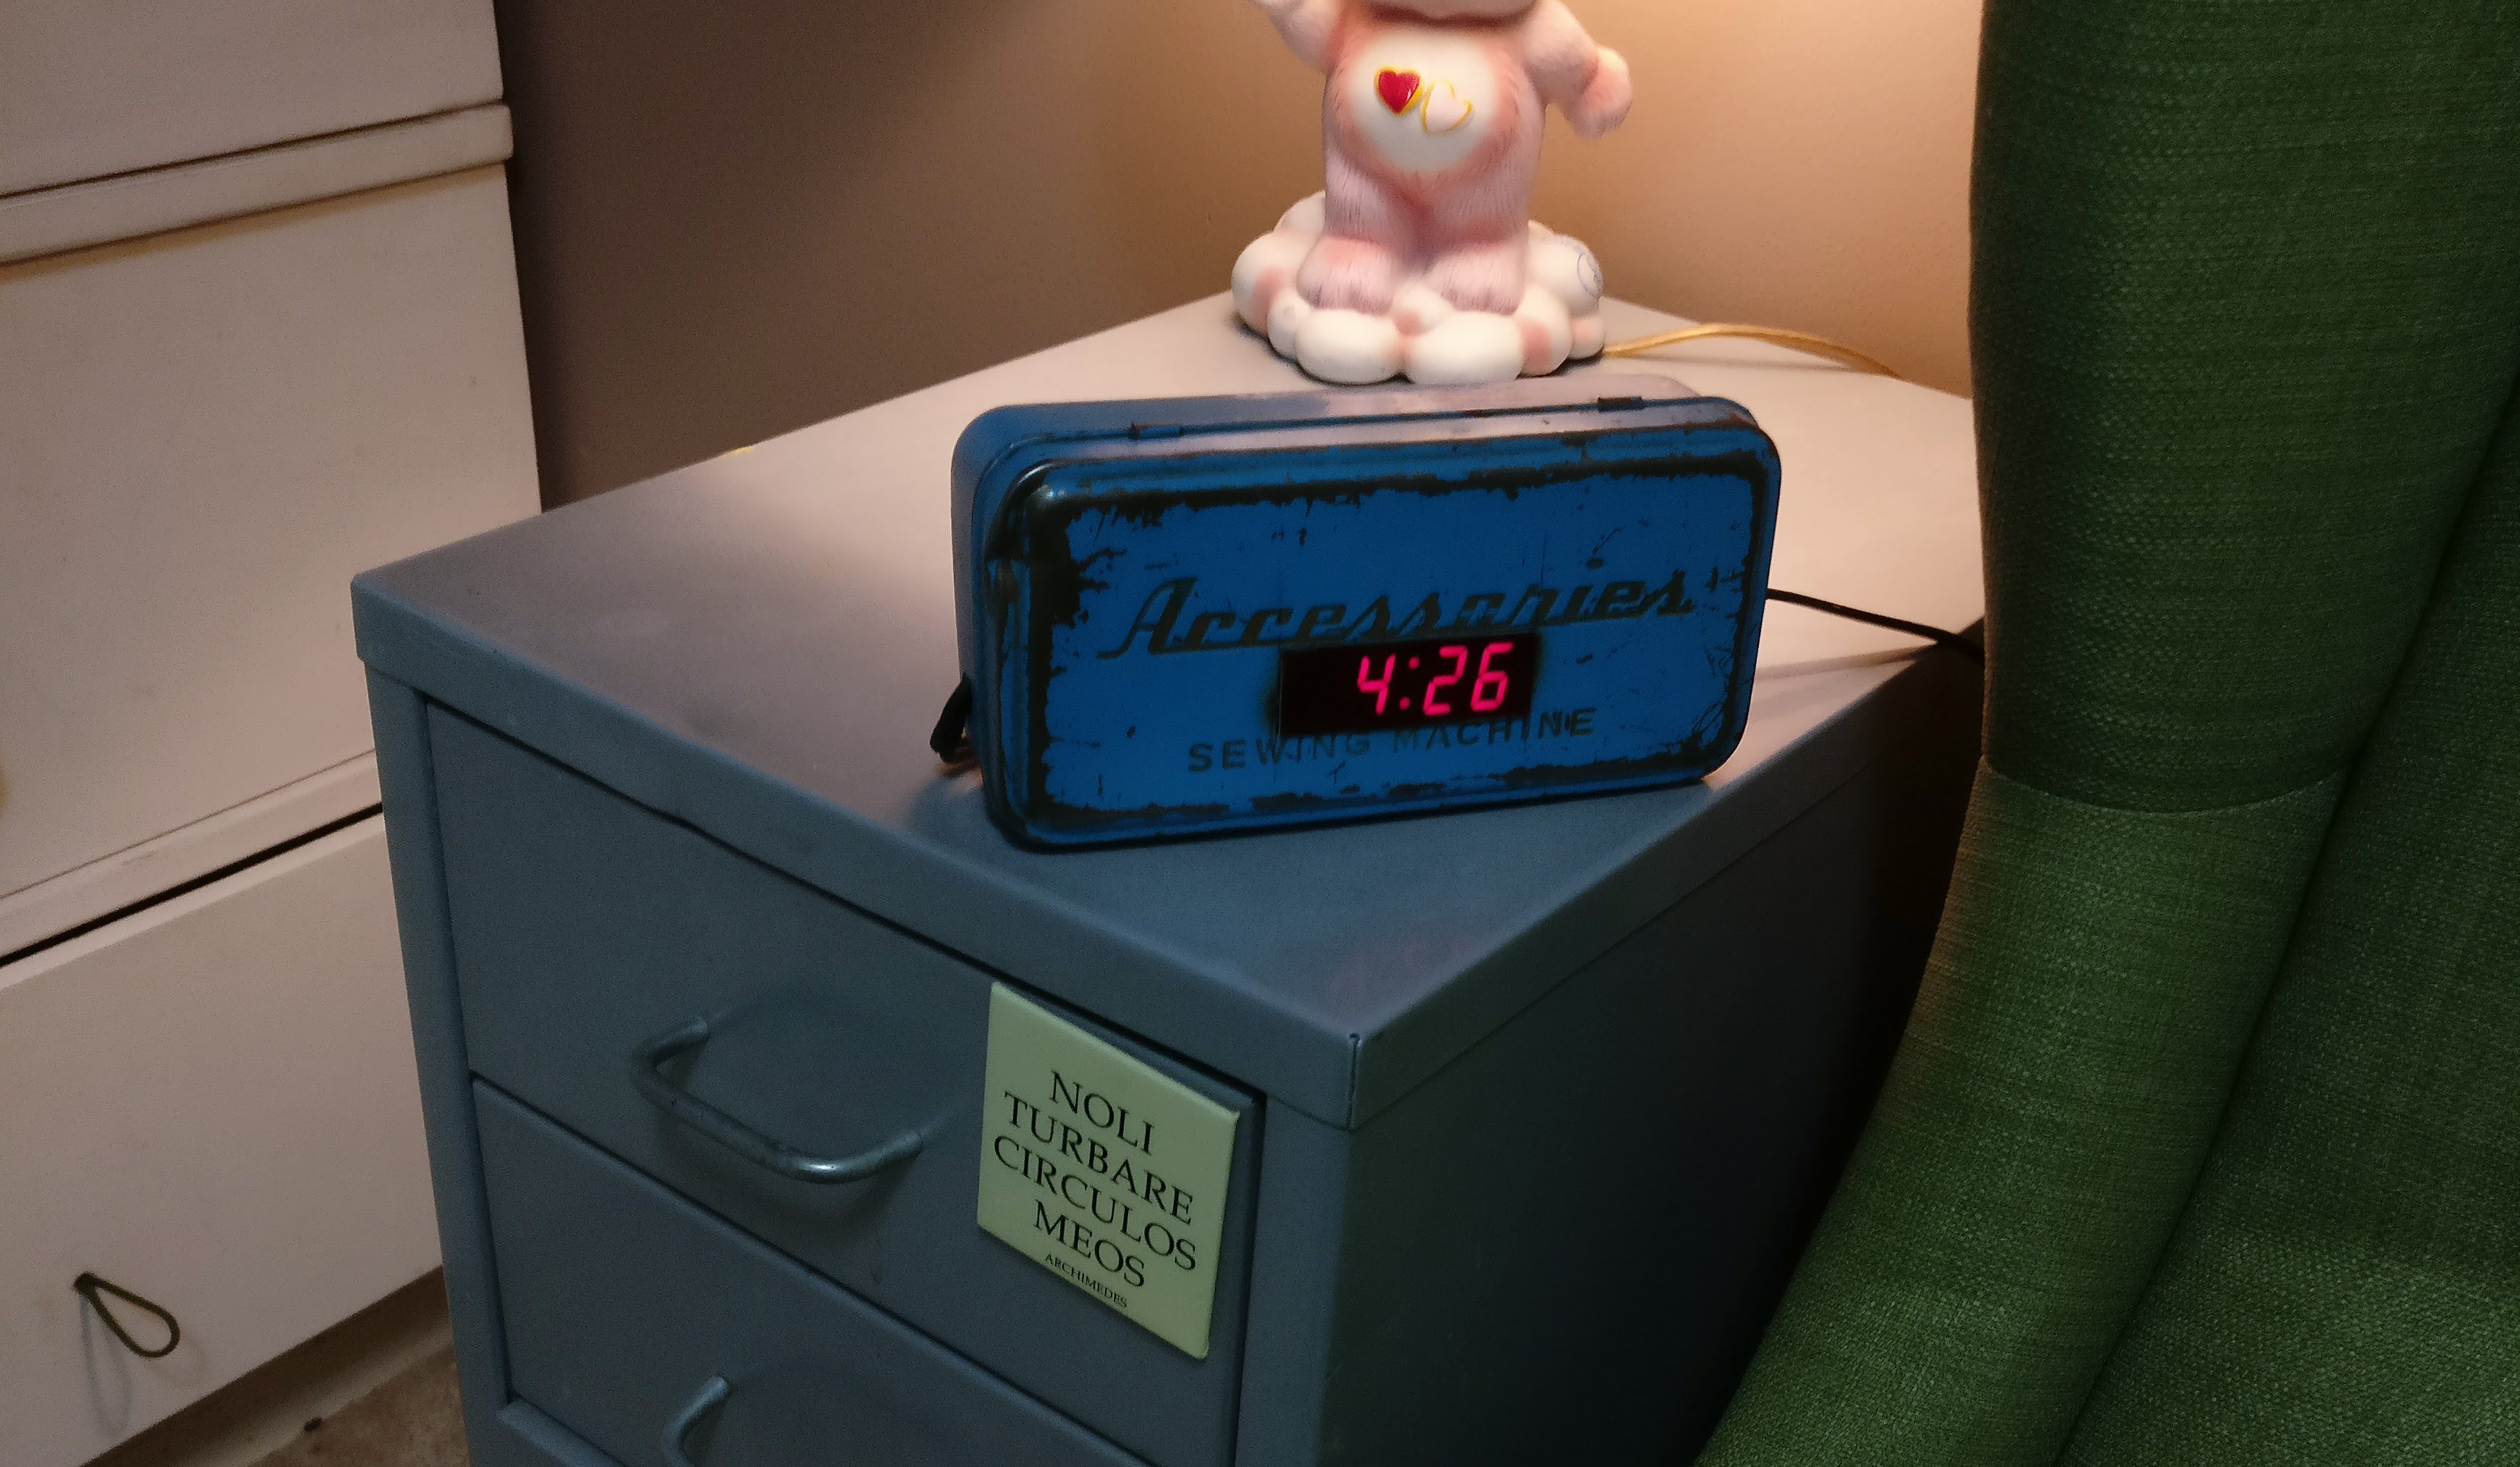
The first step in recycling an alarm clock is finding an old one with a nice red face. I don’t know why they make these displays in bright blues and greens that blind you in the night, but they shouldn’t – a red light won’t constrict your pupils and will save you many stubbed toes on the way to the loo at two. Take your nice red-faced alarm clock apart and save the guts. You’ll likely need to cut the cord (make sure it isn’t plugged in dumbass), and that you cut it with plenty of lead to strip and join it again. Save the cord. In fact, save the cord from every appliance that breaks ever. Keep a box of them, if you’re fixing things you’ll need them eventually.
Then the next step is to find a case. What you don’t want to do is get overly excited about the possibility of cramming your alarm clock guts into a nice piece of wood you find before measuring anything:
Then you’ll be left with a busted up pile of clock guts, weird little box, and the half-finished notion of recycling an alarm clock eating up the edges of your mind until you find a suitable container. Like a Sewing Accessories tin!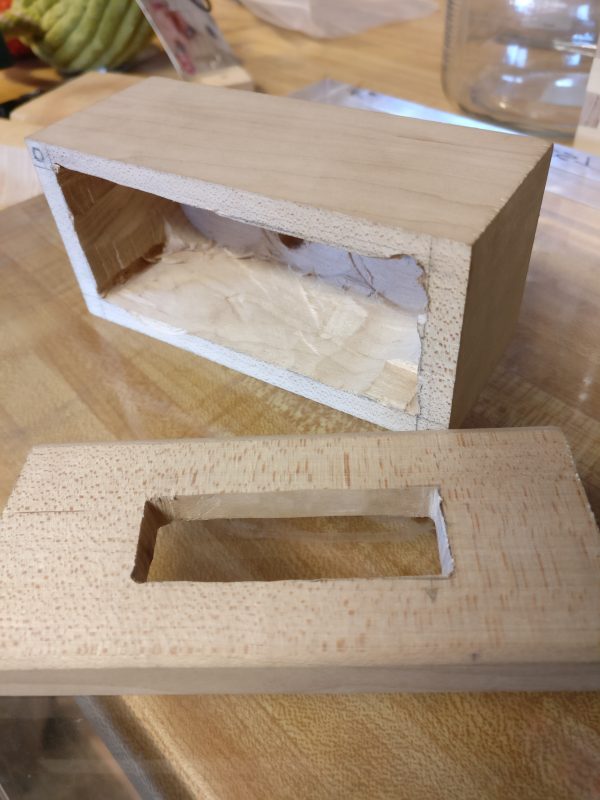
Measure the face of the clock carefully and cut the hole with a rotary cutting disc. Best to wear eye protection, red embers of metal feel terrible in your eyes. Now drill a hole for the cord. Strip and test-join the cord to the alarm clock, keep the joints separated as you plug it in to test to make sure it is working before final placement. Once you’ve tested it, rejoin the wires – I use something like the lineman’s splice and have recently been awakened to the wonders of flux! Flux doesn’t just clear the oxidation from the bare metal, it seeps and flows and draws the molten solder after it into the splice.
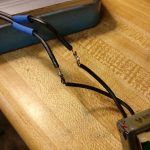
Joining the Wires
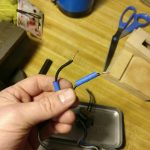
- First, cut the cord (most pliers have a cutting tool).
- Next, split the wires (carefully with a utility blade and pulling).
- Strip the wires (don’t mess about – a good stripper is cheap and will save you a massive frustration).
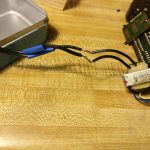
- Prepare the heat shrink tubing and slip it away from the joints – a bigger one over the whole thing and a small one for each joined wire (get a box of mixed tubing at your big box store).
- Twist, Flux, Solder!
- Slip the small tubes over the joints and use a heat gun to shrink it down.
- Finally, slip the large tube over the separated wires and use a heat gun to shrink it down.
Recycling an Alarm Clock – Final Assembly
Then you’ve just got to mount the face of the clock in the hole you prepared. I used hot glue because my LED face is covered in connective pins and the non-conductive glue will help separate the pins from the tin.
Then set the clock, (setting the clock might be a pain depending how much of the hardware you were able to keep in place, and you may even need to make a little jumper for the job) and you’re golden, you’ve finished recycling an alarm clock into the sweet little custom retro jobby.