Years ago I got a beginner’s sewing machine from a coworker as a thank you for helping her write a family history. That sewing machine was abused and neglected by me through my college years and grad school – never serviced, used improperly, and neglected sometimes for years at a time. I never made that basic Brother machine a sewing machine cover. Still, it managed to help me make curtains, and aprons, mend some pants that ripped before their time, and add a few hems to new purchases.
Eventually though the wear and tear began to show, and I found myself avoiding even small sewing projects because I was dreading the frustration of facing the jams that would come every few minutes.
I met my dear friend Helen and her enthusiasm for sewing soon had my head filled with fun things I could make – a new machine was definitely in order.
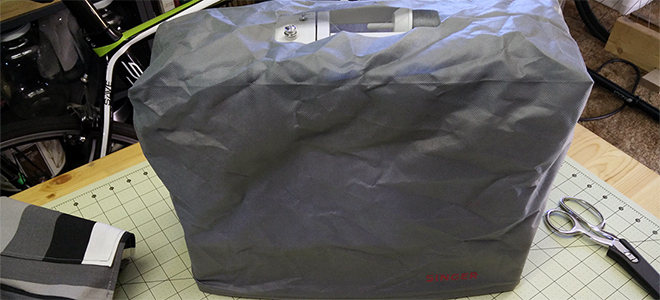
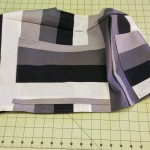
Enter Bertrand (Bertie for short)- my Singer Heavy Duty 4411 sewing machine. Bertie, is simple, and strong, and friendly, and reliable. Bertie certainly deserves something more useful and protective than the sad little sheath that was in the box.
Helen and Wendy provided some advice (that I considered thoughtfully, and appreciated greatly, and then ignored nearly completely) and that night I made Bertie a more appropriate piece of clothing based roughly on this walkthrough which I liked because I didn’t understand a good part of it!
If you’re interested in how I made mine – read on.
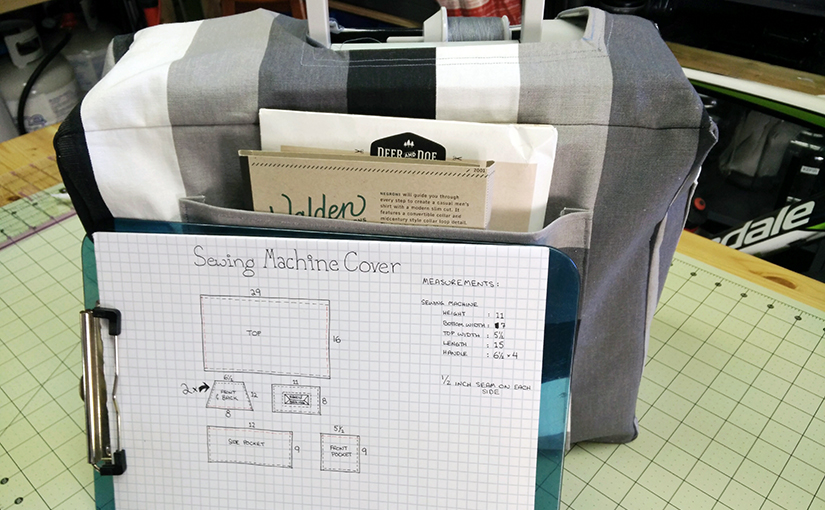
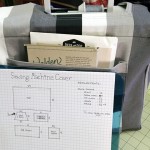
Sewing Machine Cover Instructions and notes:
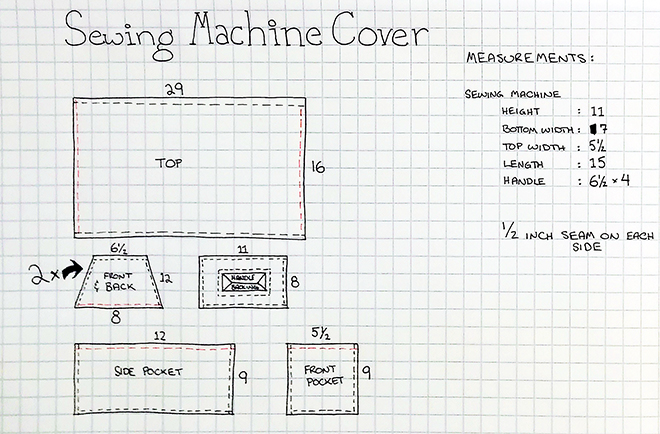
Notes on Measurement:
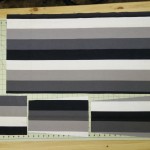
There are four basic pieces to this make + pockets (and I like to think that the pockets are limited only by your creativity and willpower!).
- Body (One piece needed) Dimensions
- 2(Machine Height) + (Machine Depth) + 2(Heavy Hem)
- Machine Width + 2(Seam Allowance)
- Side (Two Pieces needed) Dimensions
- Machine Depth + 1(Seam Allowance)
- Machine Height + 2(Seam Allowance) + 1(Heavy Hem)
- Handle Hole Pocket (1 Piece needed) Dimensions
- Handle Area Width + 4 inches
- Handle Area Length + 4 inches
- Pockets should be the side of the things you’d like to put in them + Seam Allowance


Instructions:
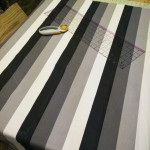
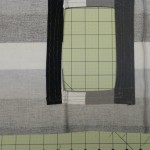
- Cut your pieces and pin them together to make sure the pattern will work. Mark where the Sides attach to the Main piece for later.
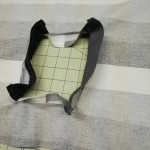
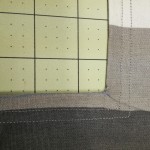
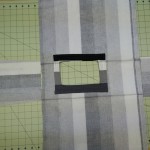
- Press and sew a loose (seam?) around the Handle Hole Piece – you can fold it twice if you’d like a nice enclosed seam – I didn’t bother (Image 3 shows the hem – don’t cut the hole yet!).
- Add the Handle Hole – Of course I failed to take pictures of the most complex step (see my notes below):
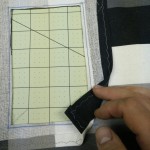
- Check out where your Handle Hole needs to go – mine is oddly off centre.
- Draw the Handle Hole onto the Main piece (right side) with some chalk.
- Draw a matching rectangle onto the centre of Handle Hole piece (wrong side + right side).
- Pin these chalk rectangles – Right Sides together.
- Sew around the top chalk rectangle (on the line if you please!).
- Cut out the inside of the rectangle – getting quite close to the seam, but never crossing it – you know what happens if you cross the seams!
- Turn this mess inside out.
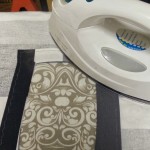
- Press.
- Lay down some top stitching – I did two rows (Image 6 and 6a).
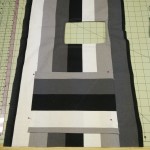
- The pockets go on now – much easier when everything is still flat:
- Press a small fold on all four sides.
- Secure the top seam of each pocket with a row or two of tight stitches.
- Pin them in place (make sure they are straight and centred!).
- Sew tight stitches along the remaining three sides. Reinforce the corners as appropriate.
- Add a False seam for structure:
- Mark the upper corners of your machine.
- Sew a narrow false seam along the top corners to add structure (Image 10)
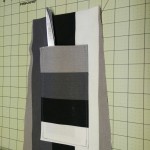
- Attach the sides to the main piece – use your markings from Step 1.
- Pin wrong sides together.
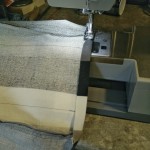
- Sew a seam to attach the Sides to the Main (Image 11).
NOTES FOR NEXT TIME
- If you don’t understand the instructions for something – do a test. I should have done a test of the Handle Hole. If I had understood what was happening at this step the results would be much cleaner and the stitching vastly improved
- Step 3.4 is critical to the way the piece turns out. The cover would have been greatly improved if I have been more careful and sewn a straight and reliable seam in this step.